
Explore Our PaintReady® Classic Wall Panel Kits Range
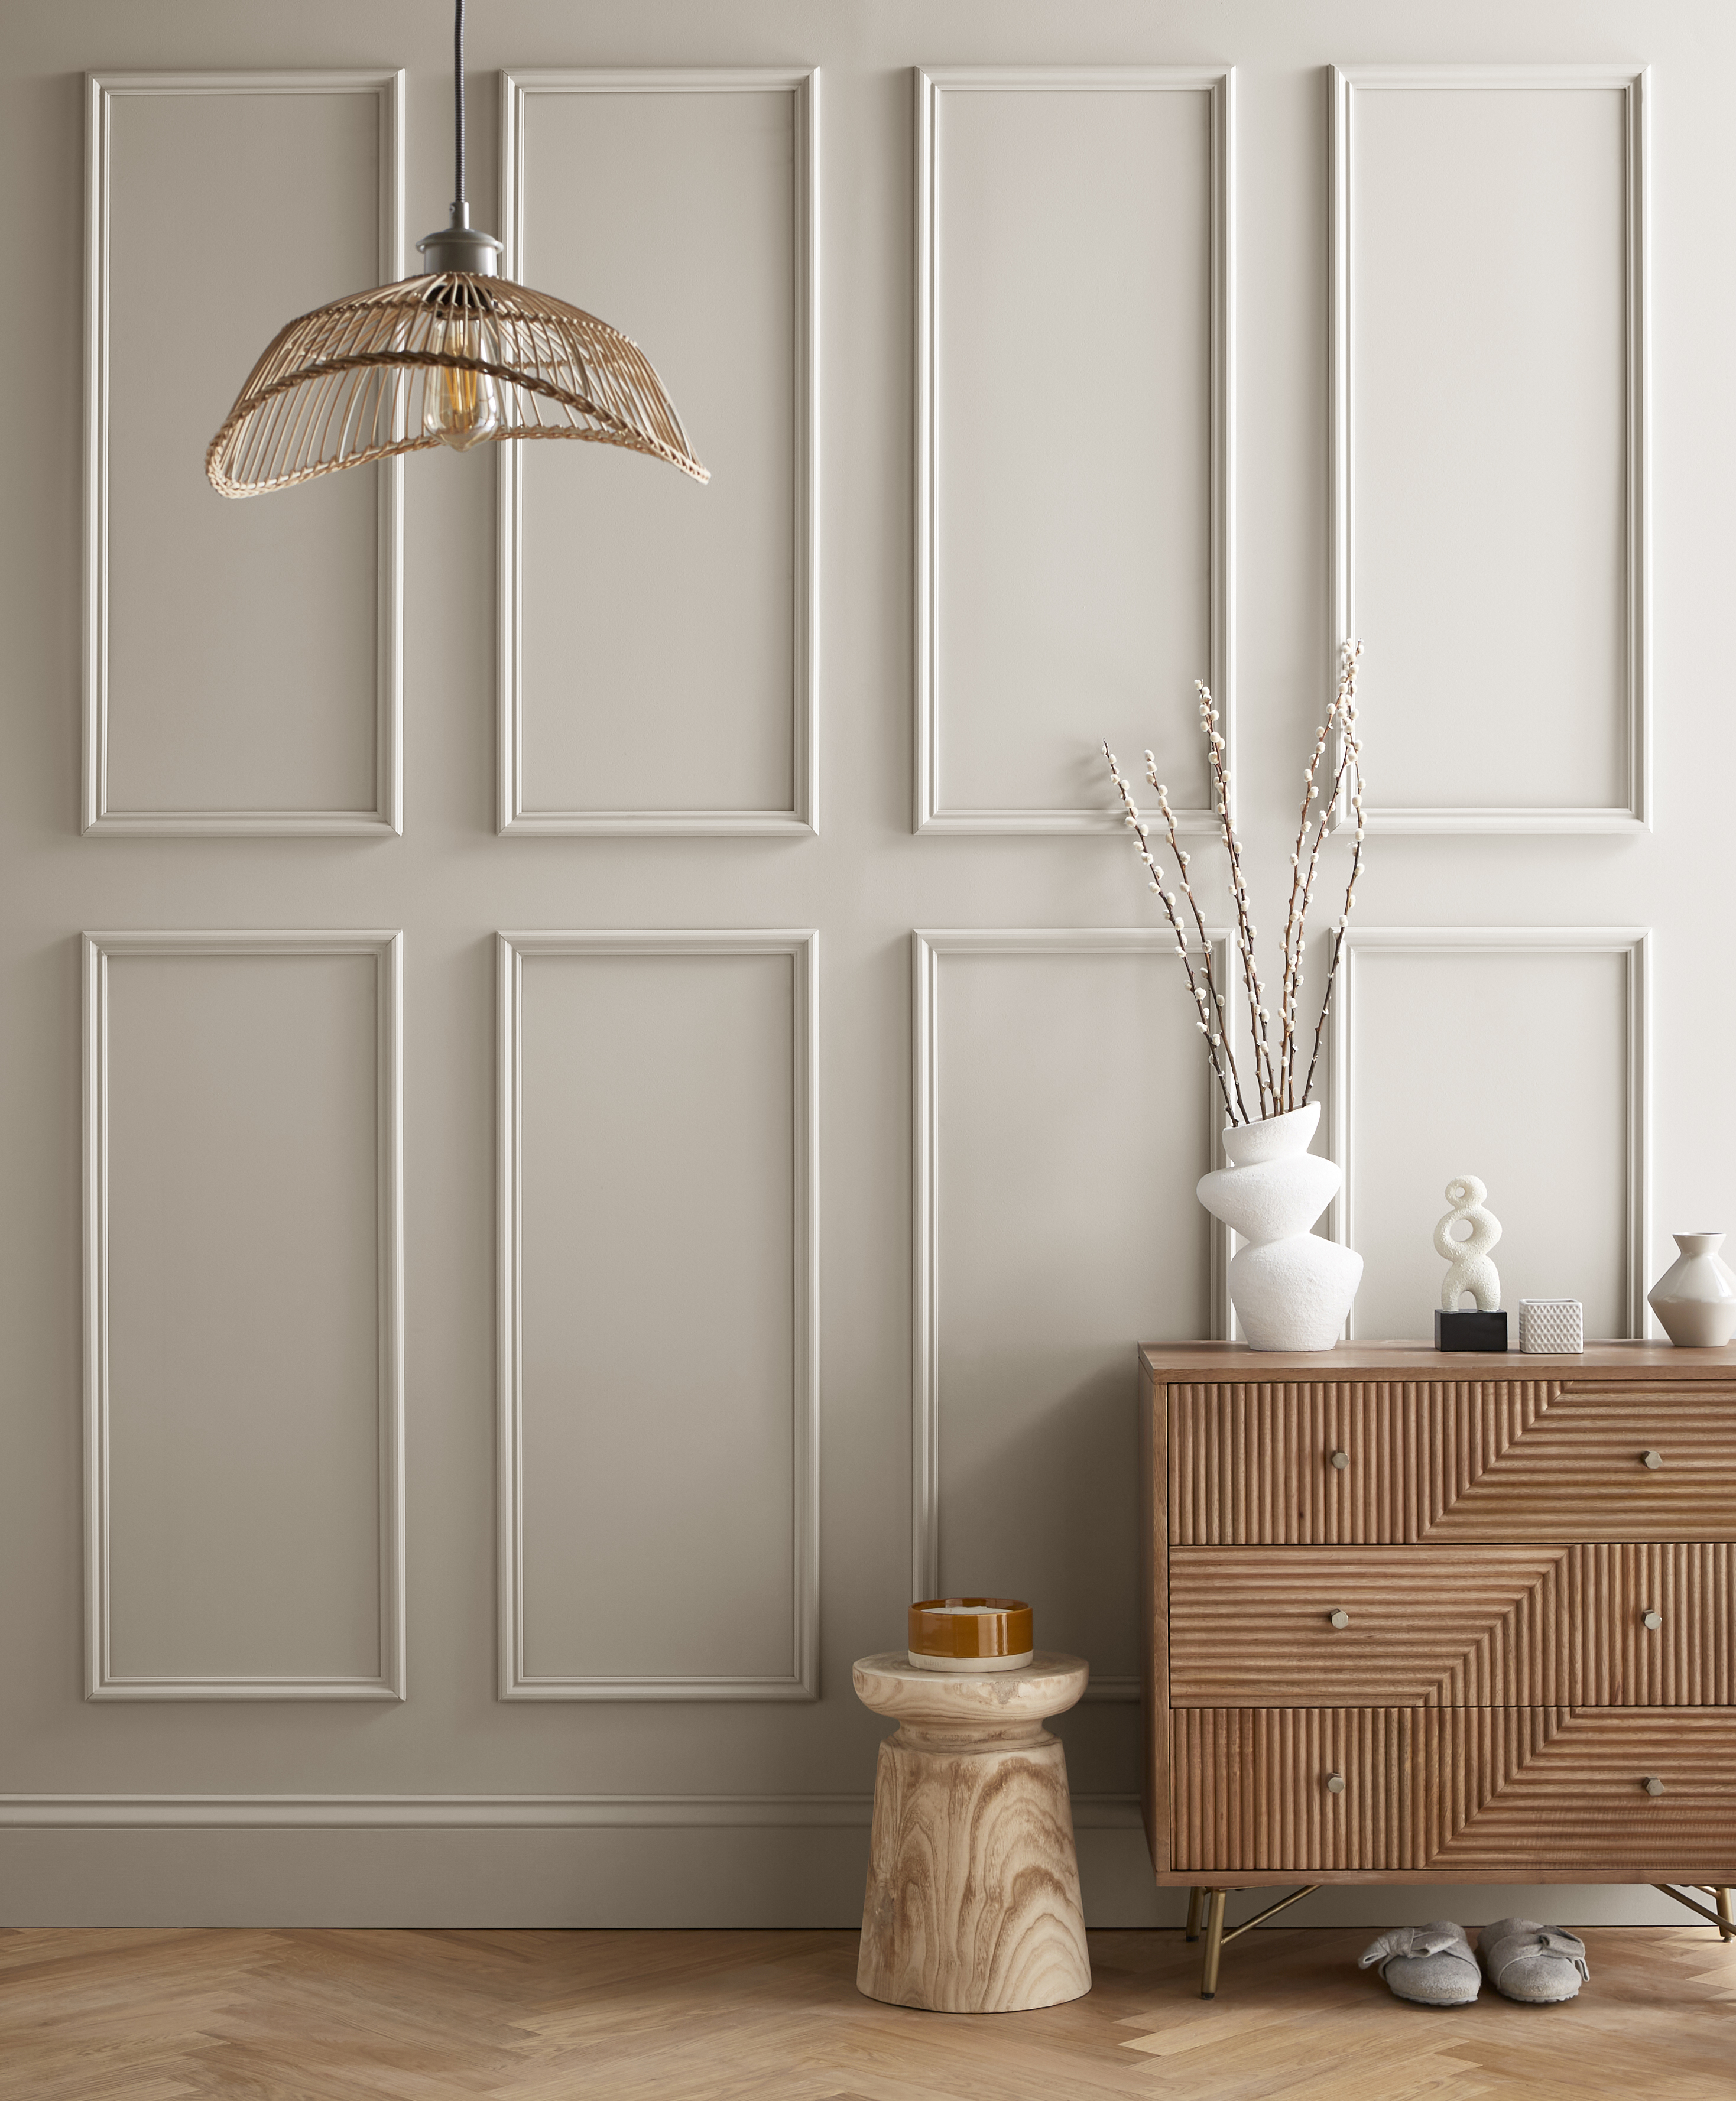
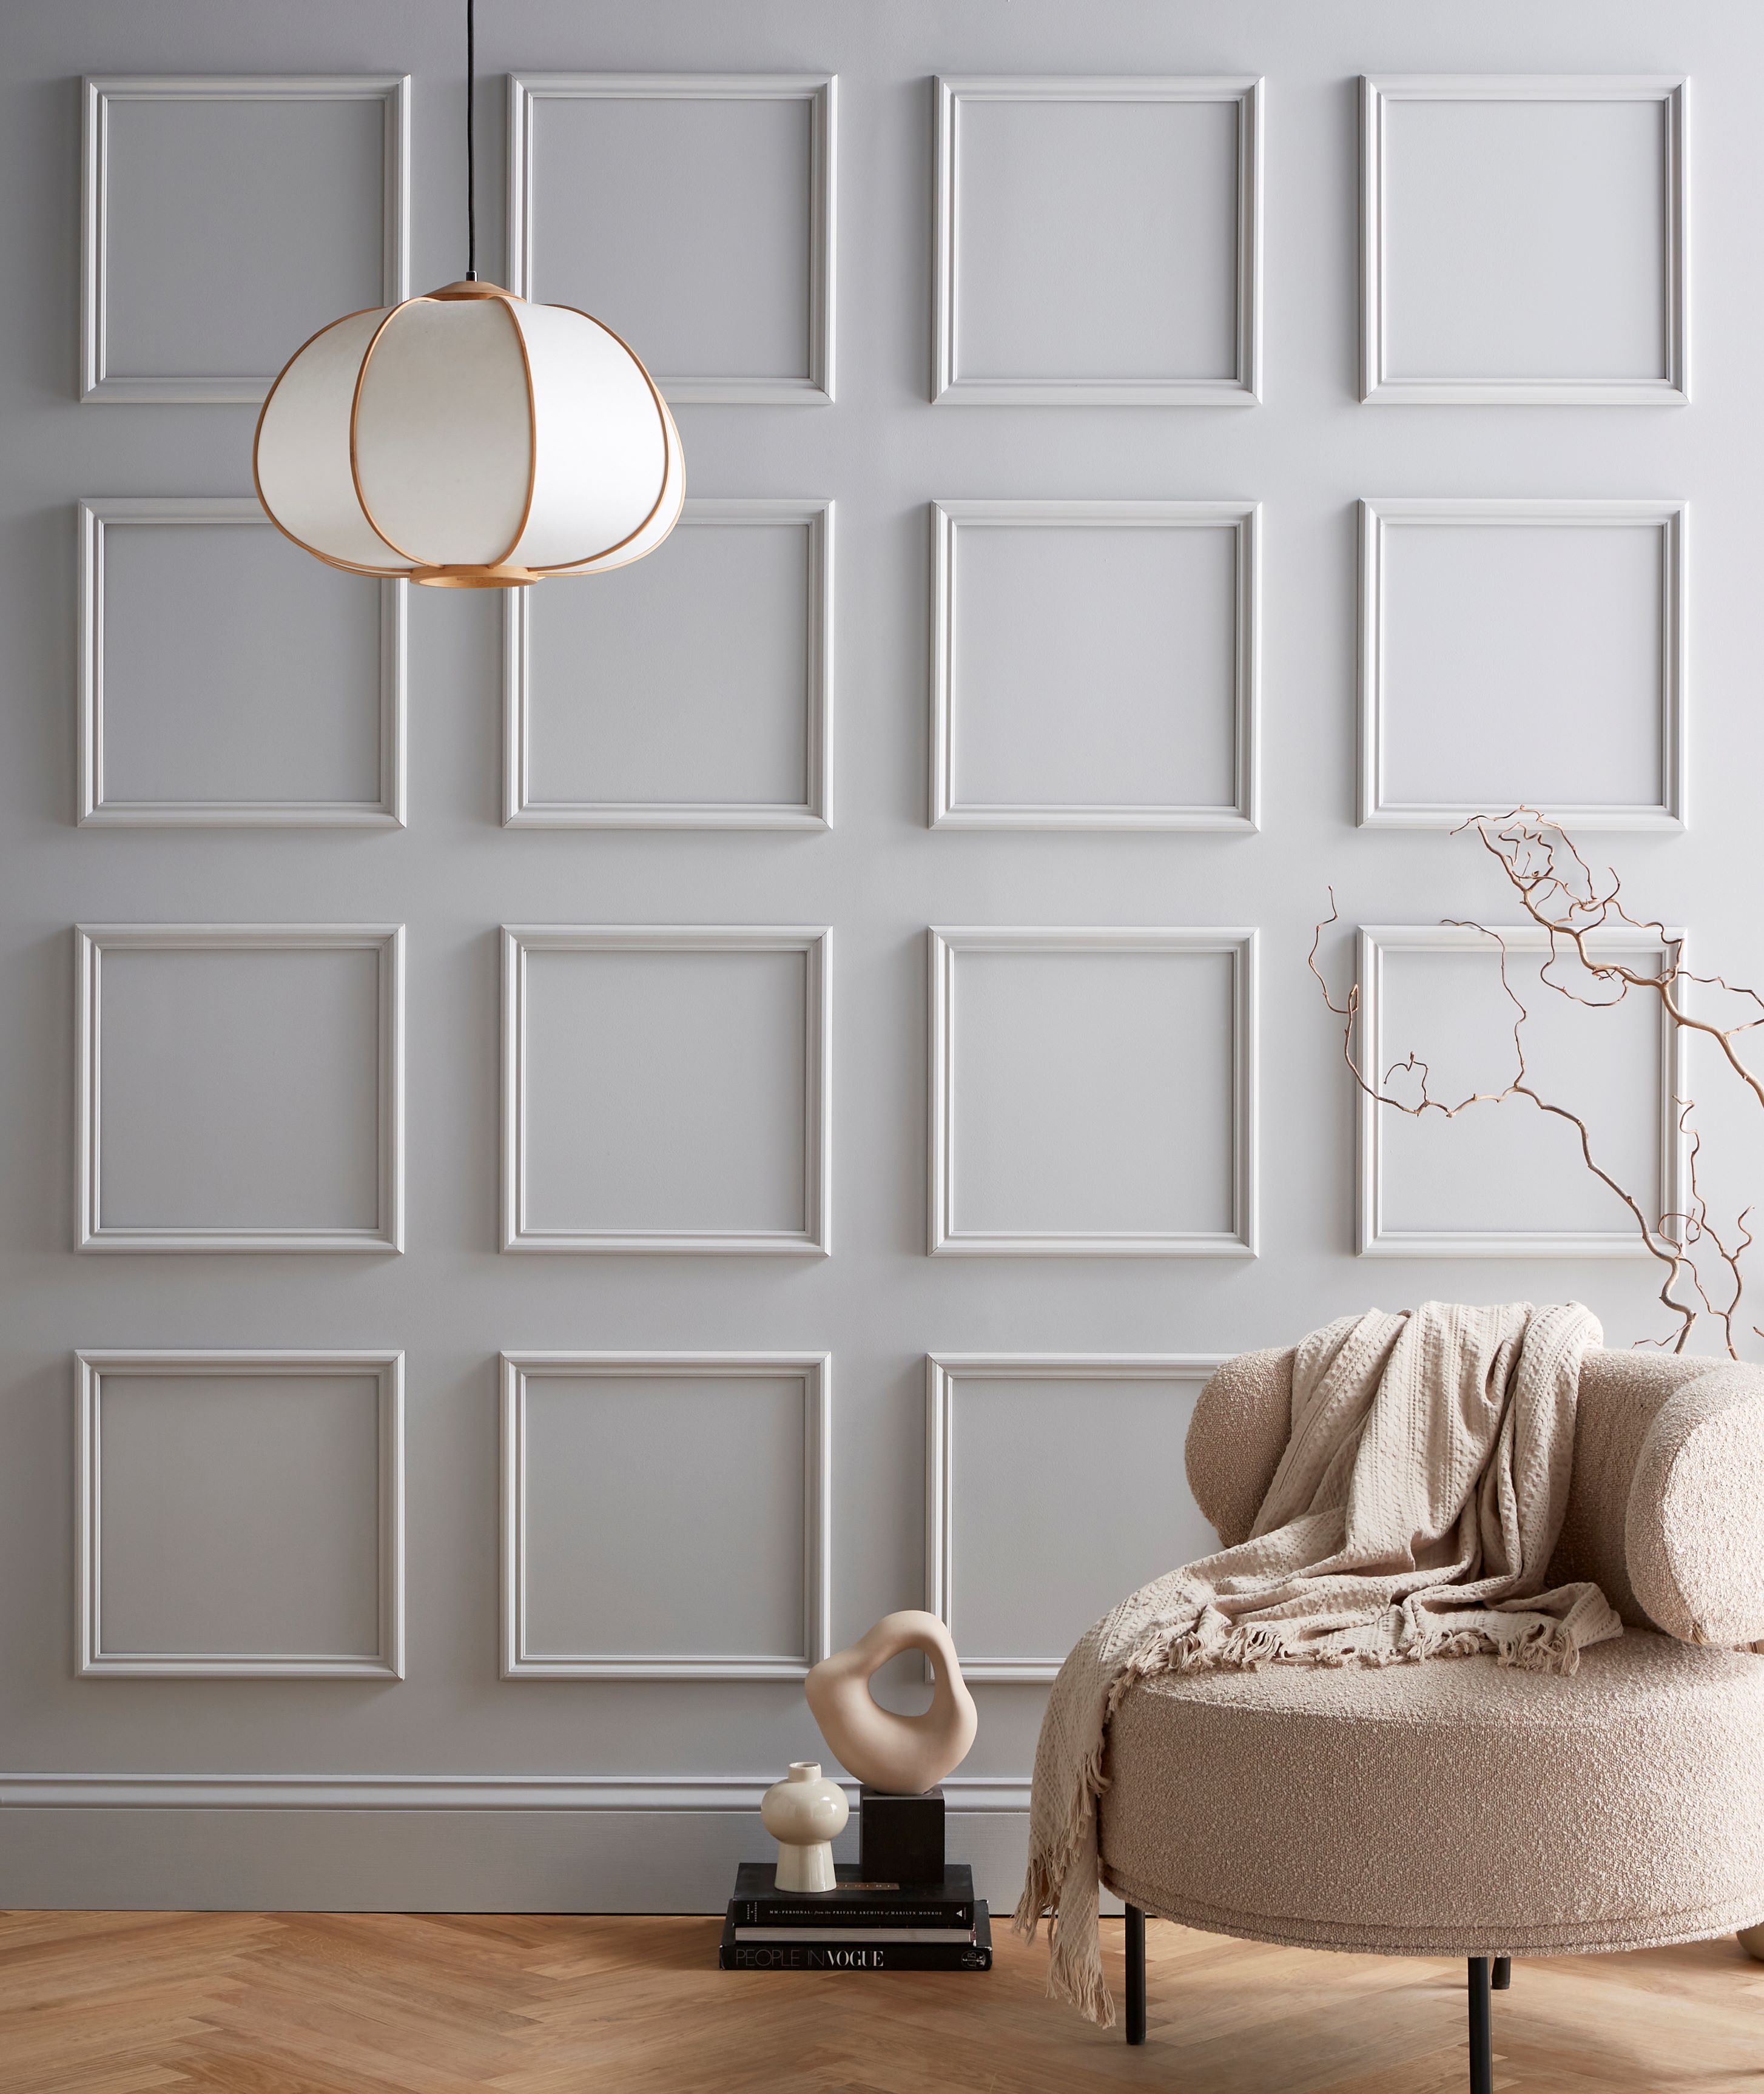
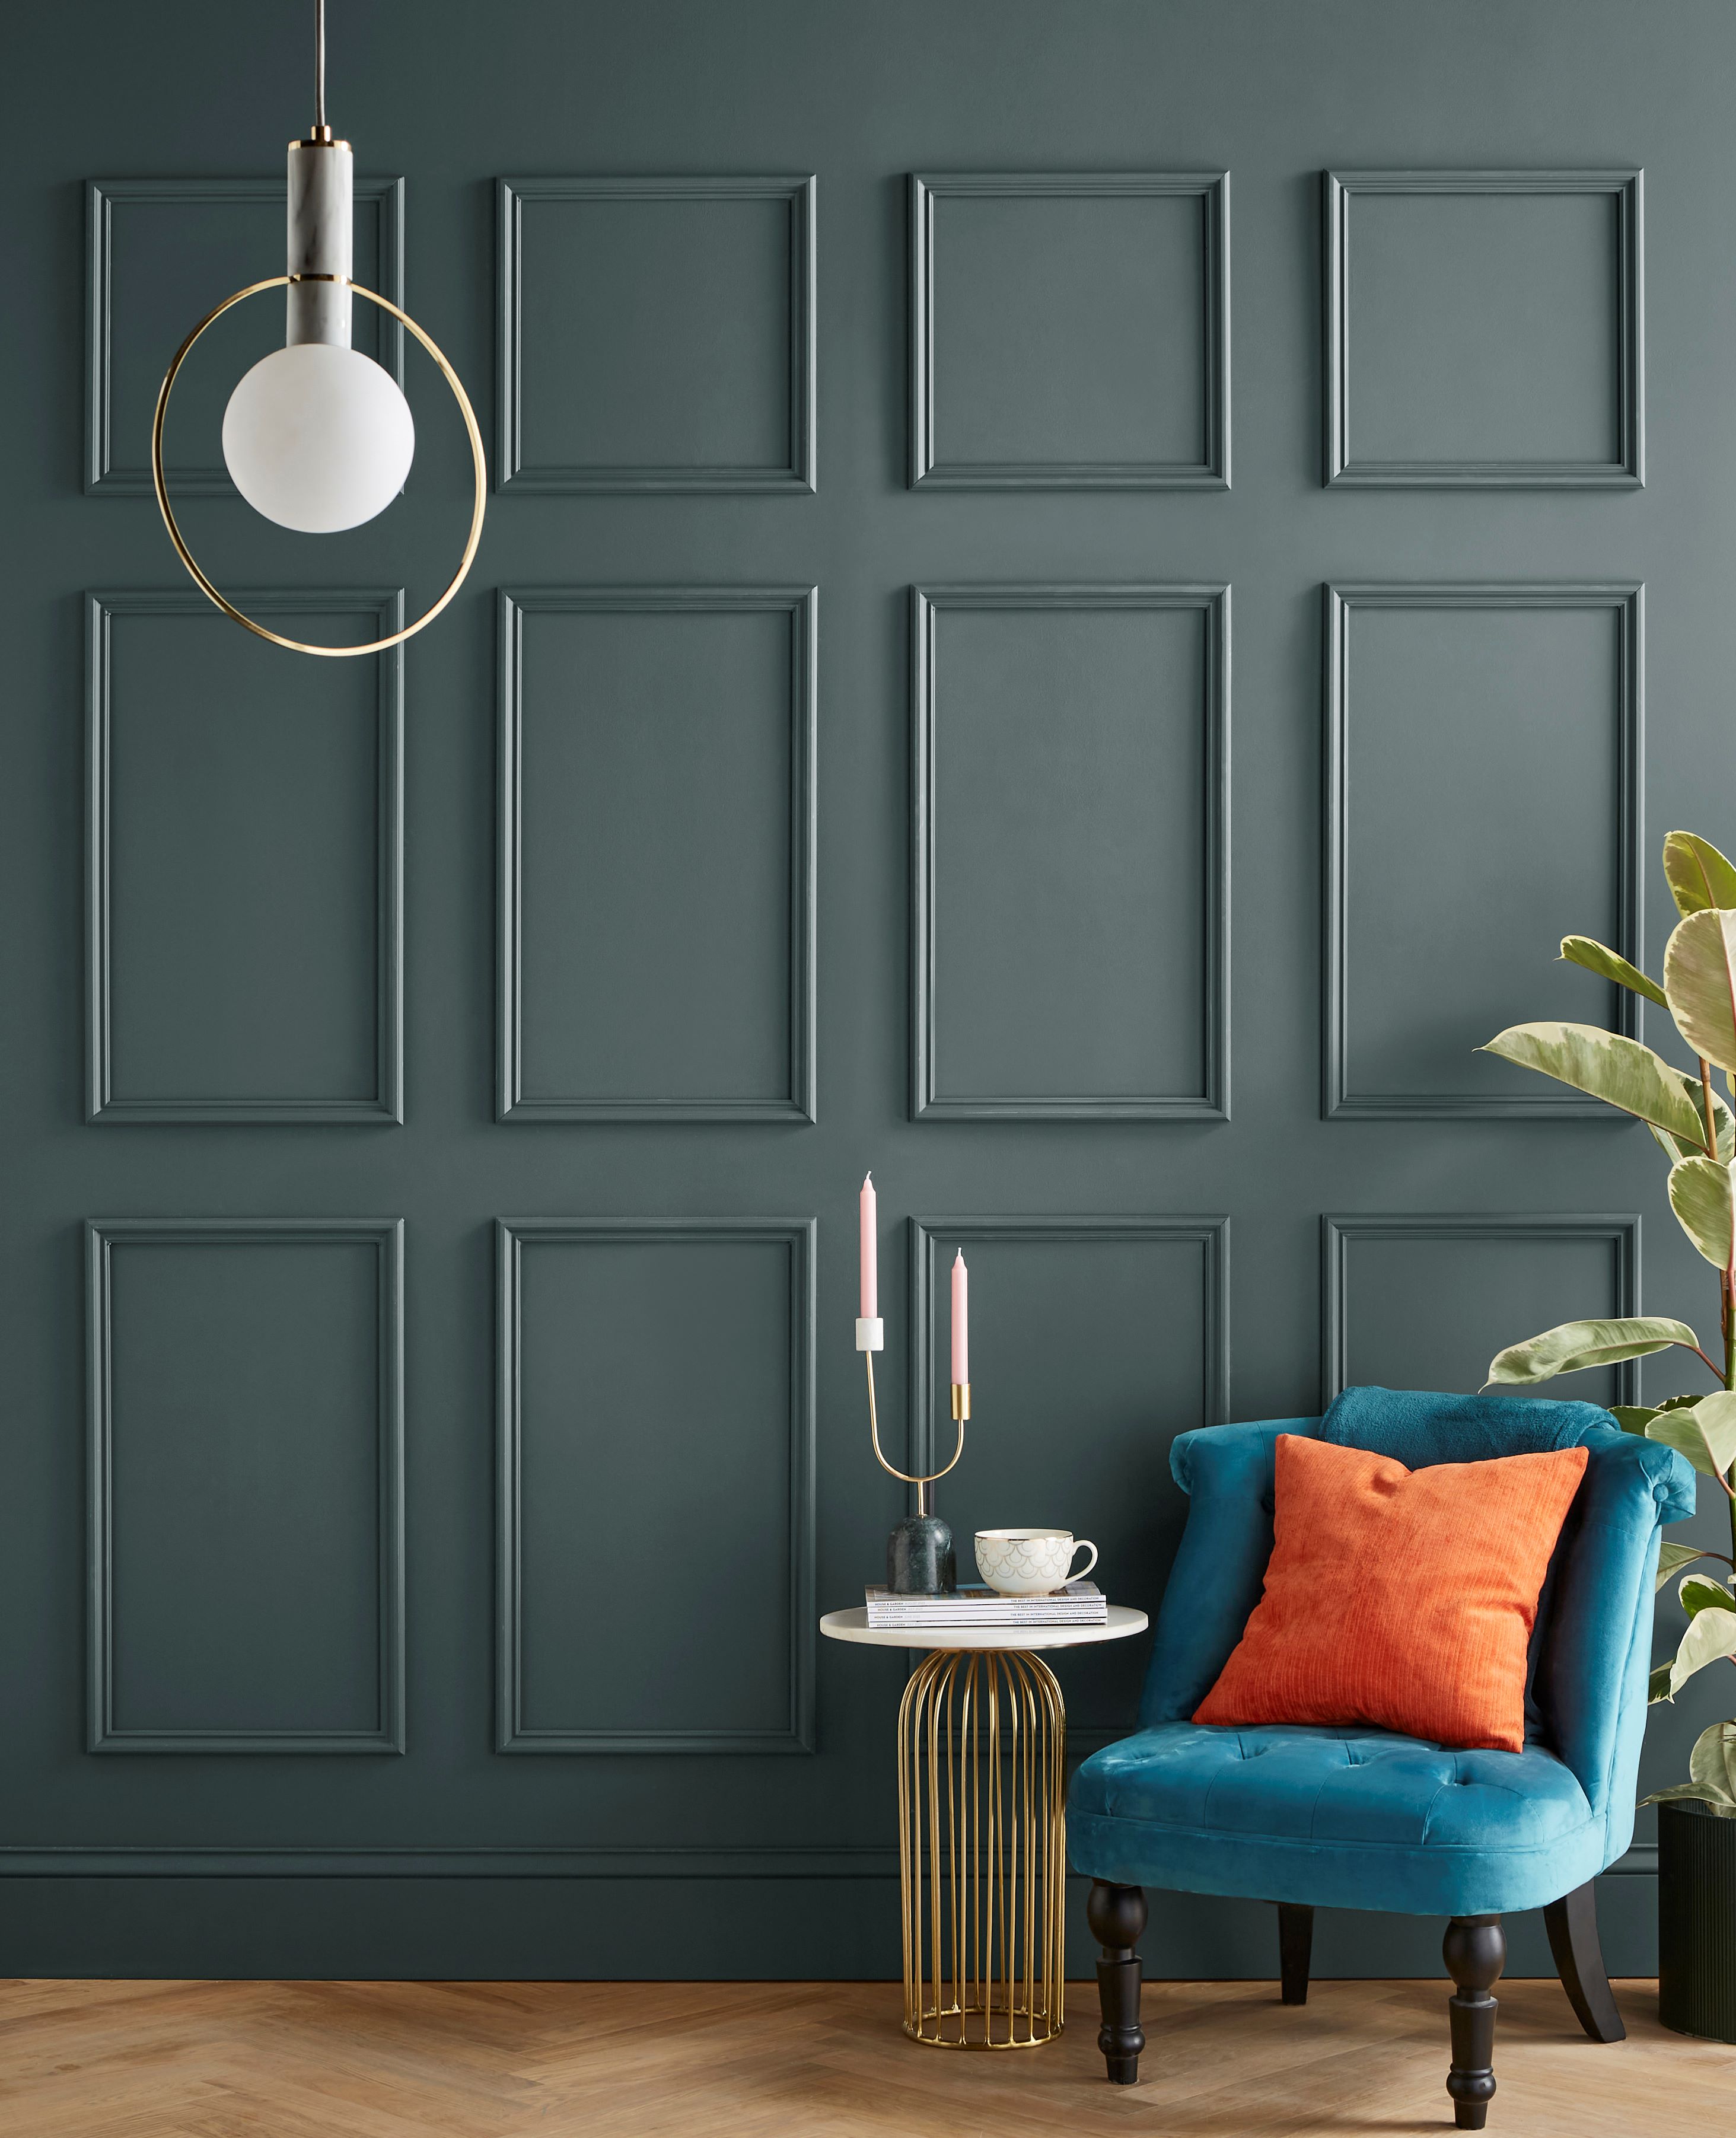
Our Classic PaintReady wall panel kits make it easy to achieve a traditional wall panelling effect, allowing you to mix and match between kits, creating your own unique look.

The PaintReady Classic Wall Panel Kit is the perfect choice for effortless interior wall panelling. Pre-primed and ready to paint, these decorative wall panelling panels are designed for quick and easy installation with a smooth, flawless finish.
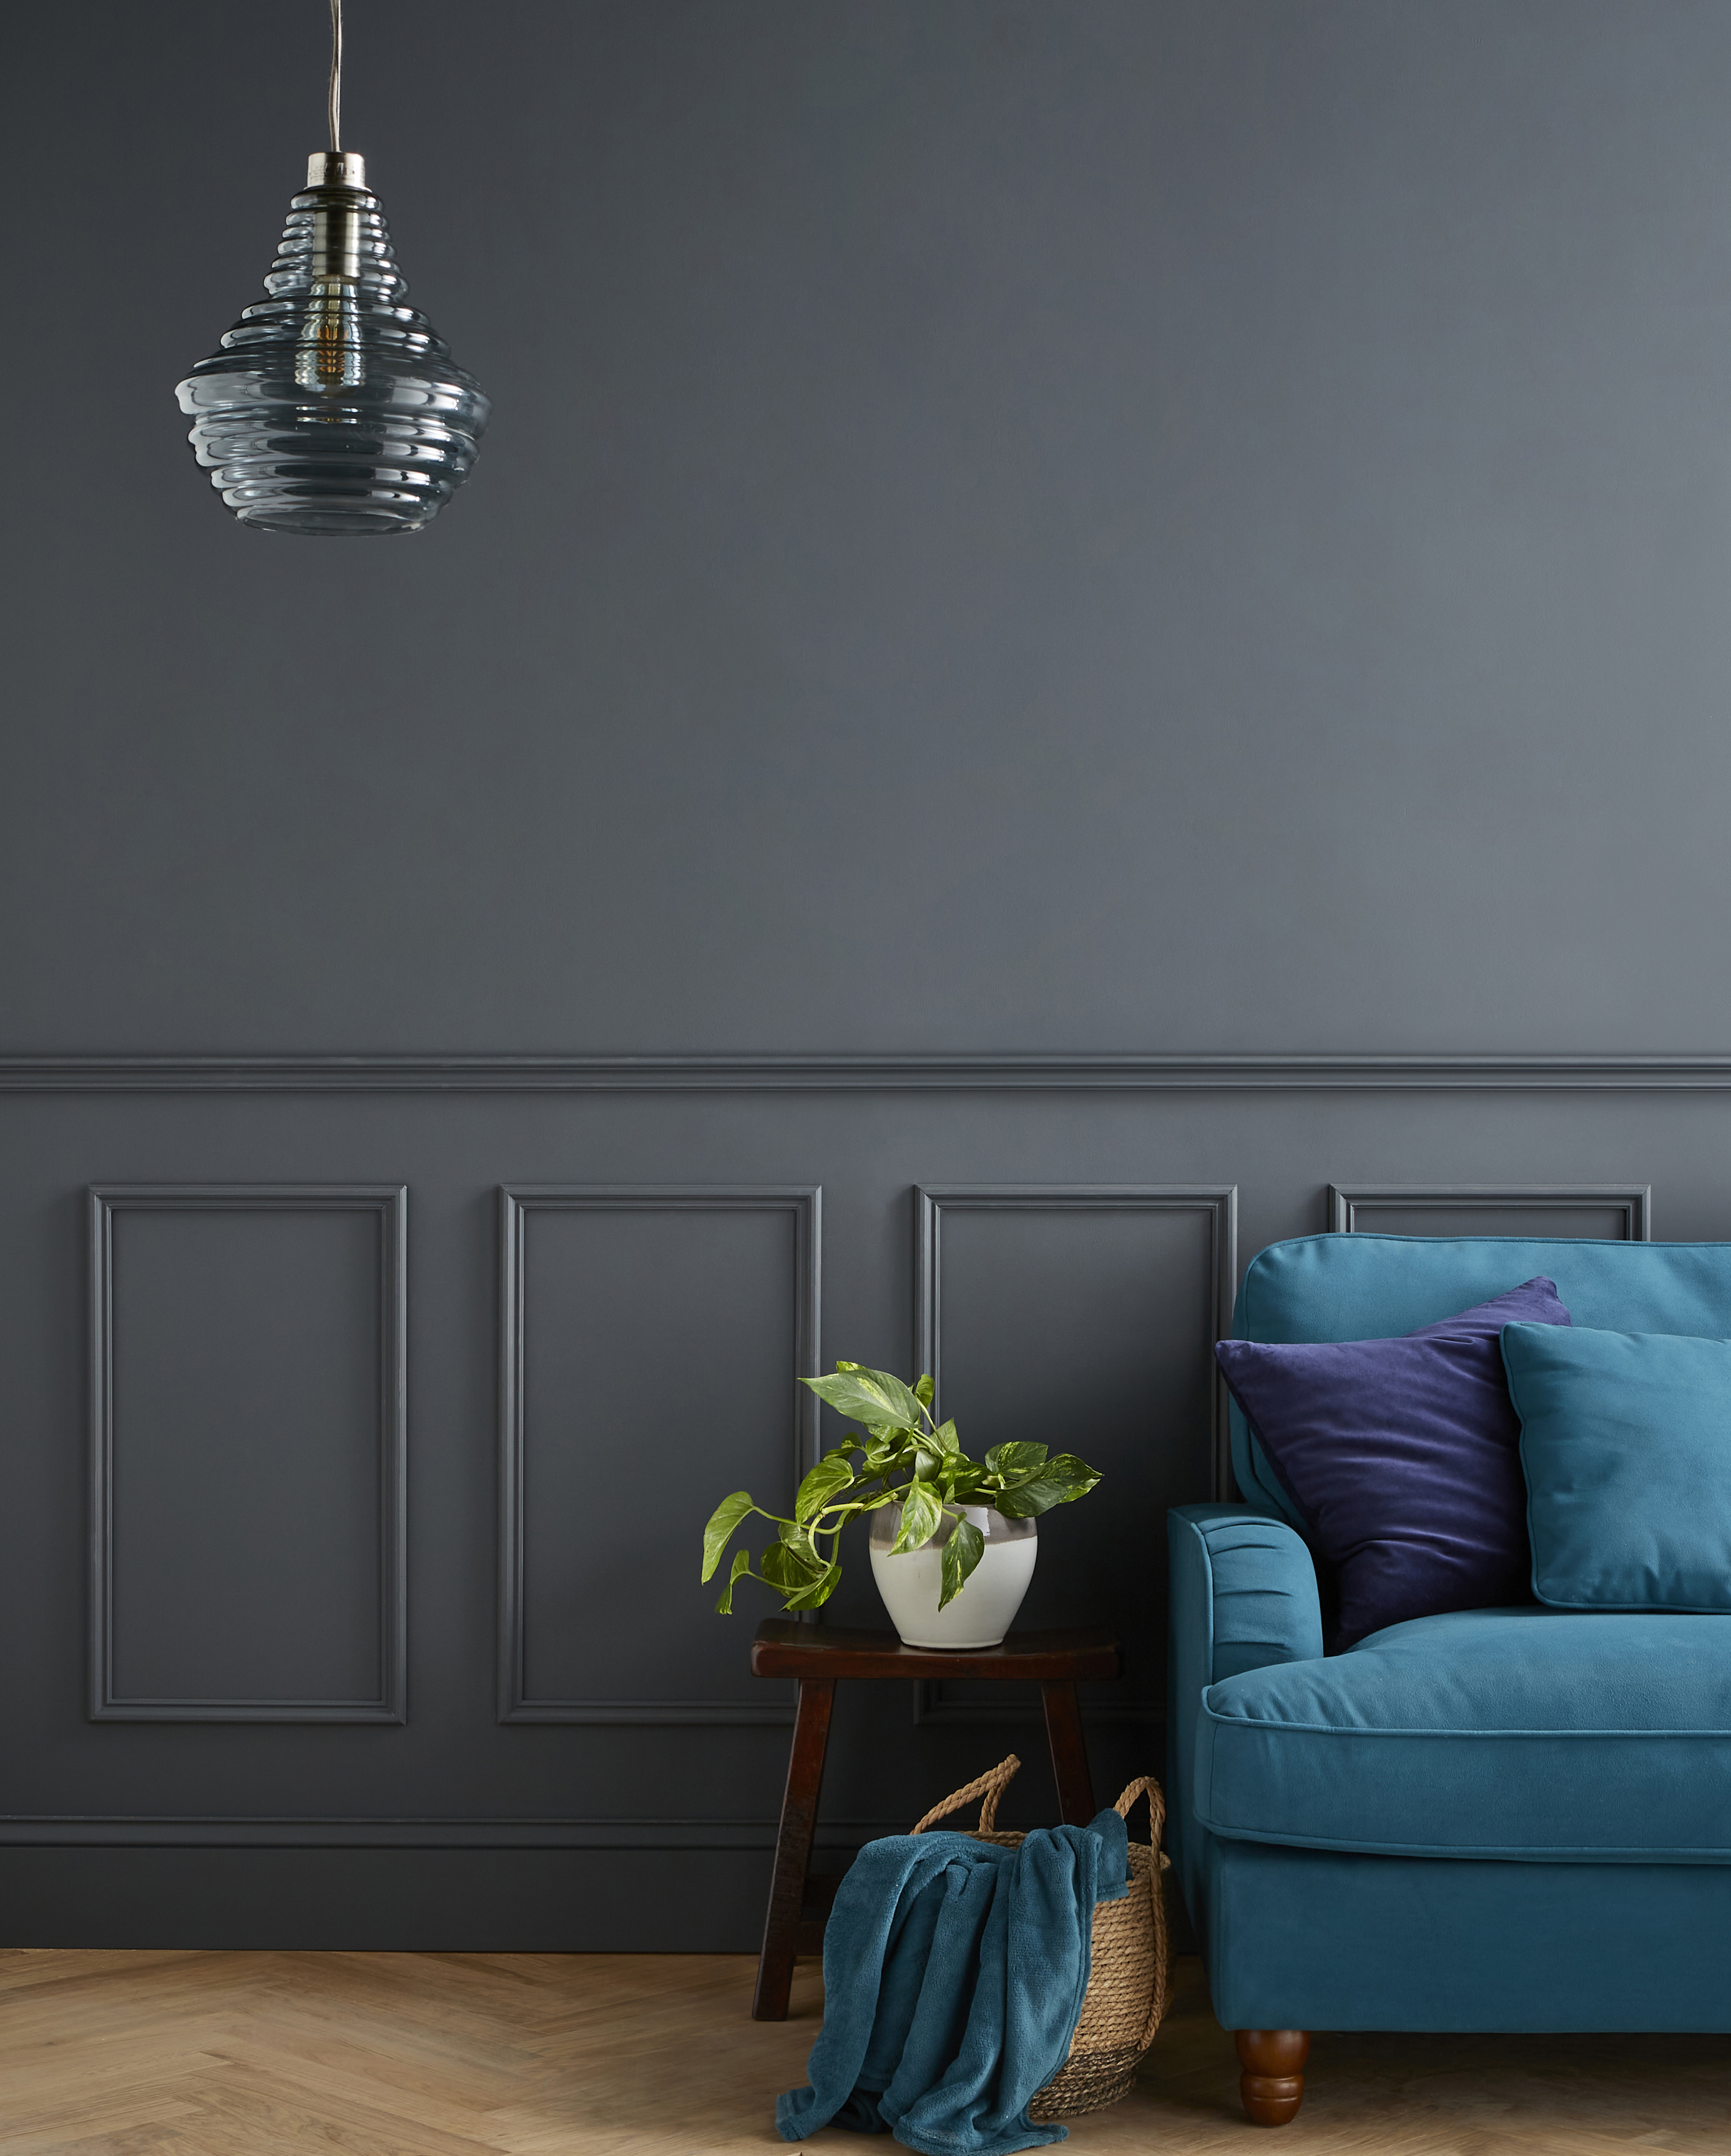
Kits are available in squares, longer rectangles and a half wall solution with Dado rail. These classic kits are ideal for adding depth and elegance to hallways, dining rooms, and living spaces, they offer a simple way to achieve a high-end look with minimal fuss.
Showing 4 products
View More Wall Panelling Collections
PaintReady® Classic Wall Panel Kits FAQs
Can wall panels go over tiles?
Yes, wall panels can be installed over tiles in residential and commercial settings, provided the surface is properly prepared. Here’s how to install over tiles:
- Clean the Tiles: Thoroughly clean the tile surface to ensure it is free of dust, grease and debris.
- Smooth the Surface: If necessary, sand down any grout lines or uneven surfaces to create a smoother, more adhesive-friendly base.
- Apply Panels: Use a strong adhesive to secure the panels to the tile surface. For additional security, screws or nails can be used where possible, depending on the tile and panel material.
This method allows for faster, less invasive installations, which can be beneficial in commercial renovations or refurbishment projects.
How to do wall panelling on stairs?
Wall panelling on stairs can create a striking visual effect and adds sophistication to staircases. To install wall panelling on stairs:
- Measure the Wall: Begin by measuring both the height and width of the wall along the staircase, taking into account the angled surfaces.
- Cut Panels to Fit: Use a mitre saw to make precise cuts for the angled parts of the staircase.
- Install the Panels: Secure the panels carefully, ensuring they align properly with the angled sections of the stairs. For precision, start from the bottom and work upwards.
- Finishing Touches: Add trim or moulding to frame the panels neatly, ensuring a polished, professional finish that complements the rest of the space.
This process is crucial for achieving a smooth, clean look, especially in commercial environments where attention to detail is paramount.
