Stairparts
As one of the UK’s leading stairparts suppliers, Richard Burbidge offers a comprehensive range of high-quality stairparts, perfect for transforming any staircase, whether traditional or contemporary. Choose from a wide selection of handrails, baserails, spindles, newels, caps, and more, crafted in premium materials like oak, metal, and glass.
Whether you're planning a full staircase renovation or simply replacing individual stair parts, our products are designed to be durable, stylish, and easy to fit. With options to suit a full range of interiors, from classic to modern. You can build a staircase that’s safe, functional, and beautifully finished.
Our Design Service636 products
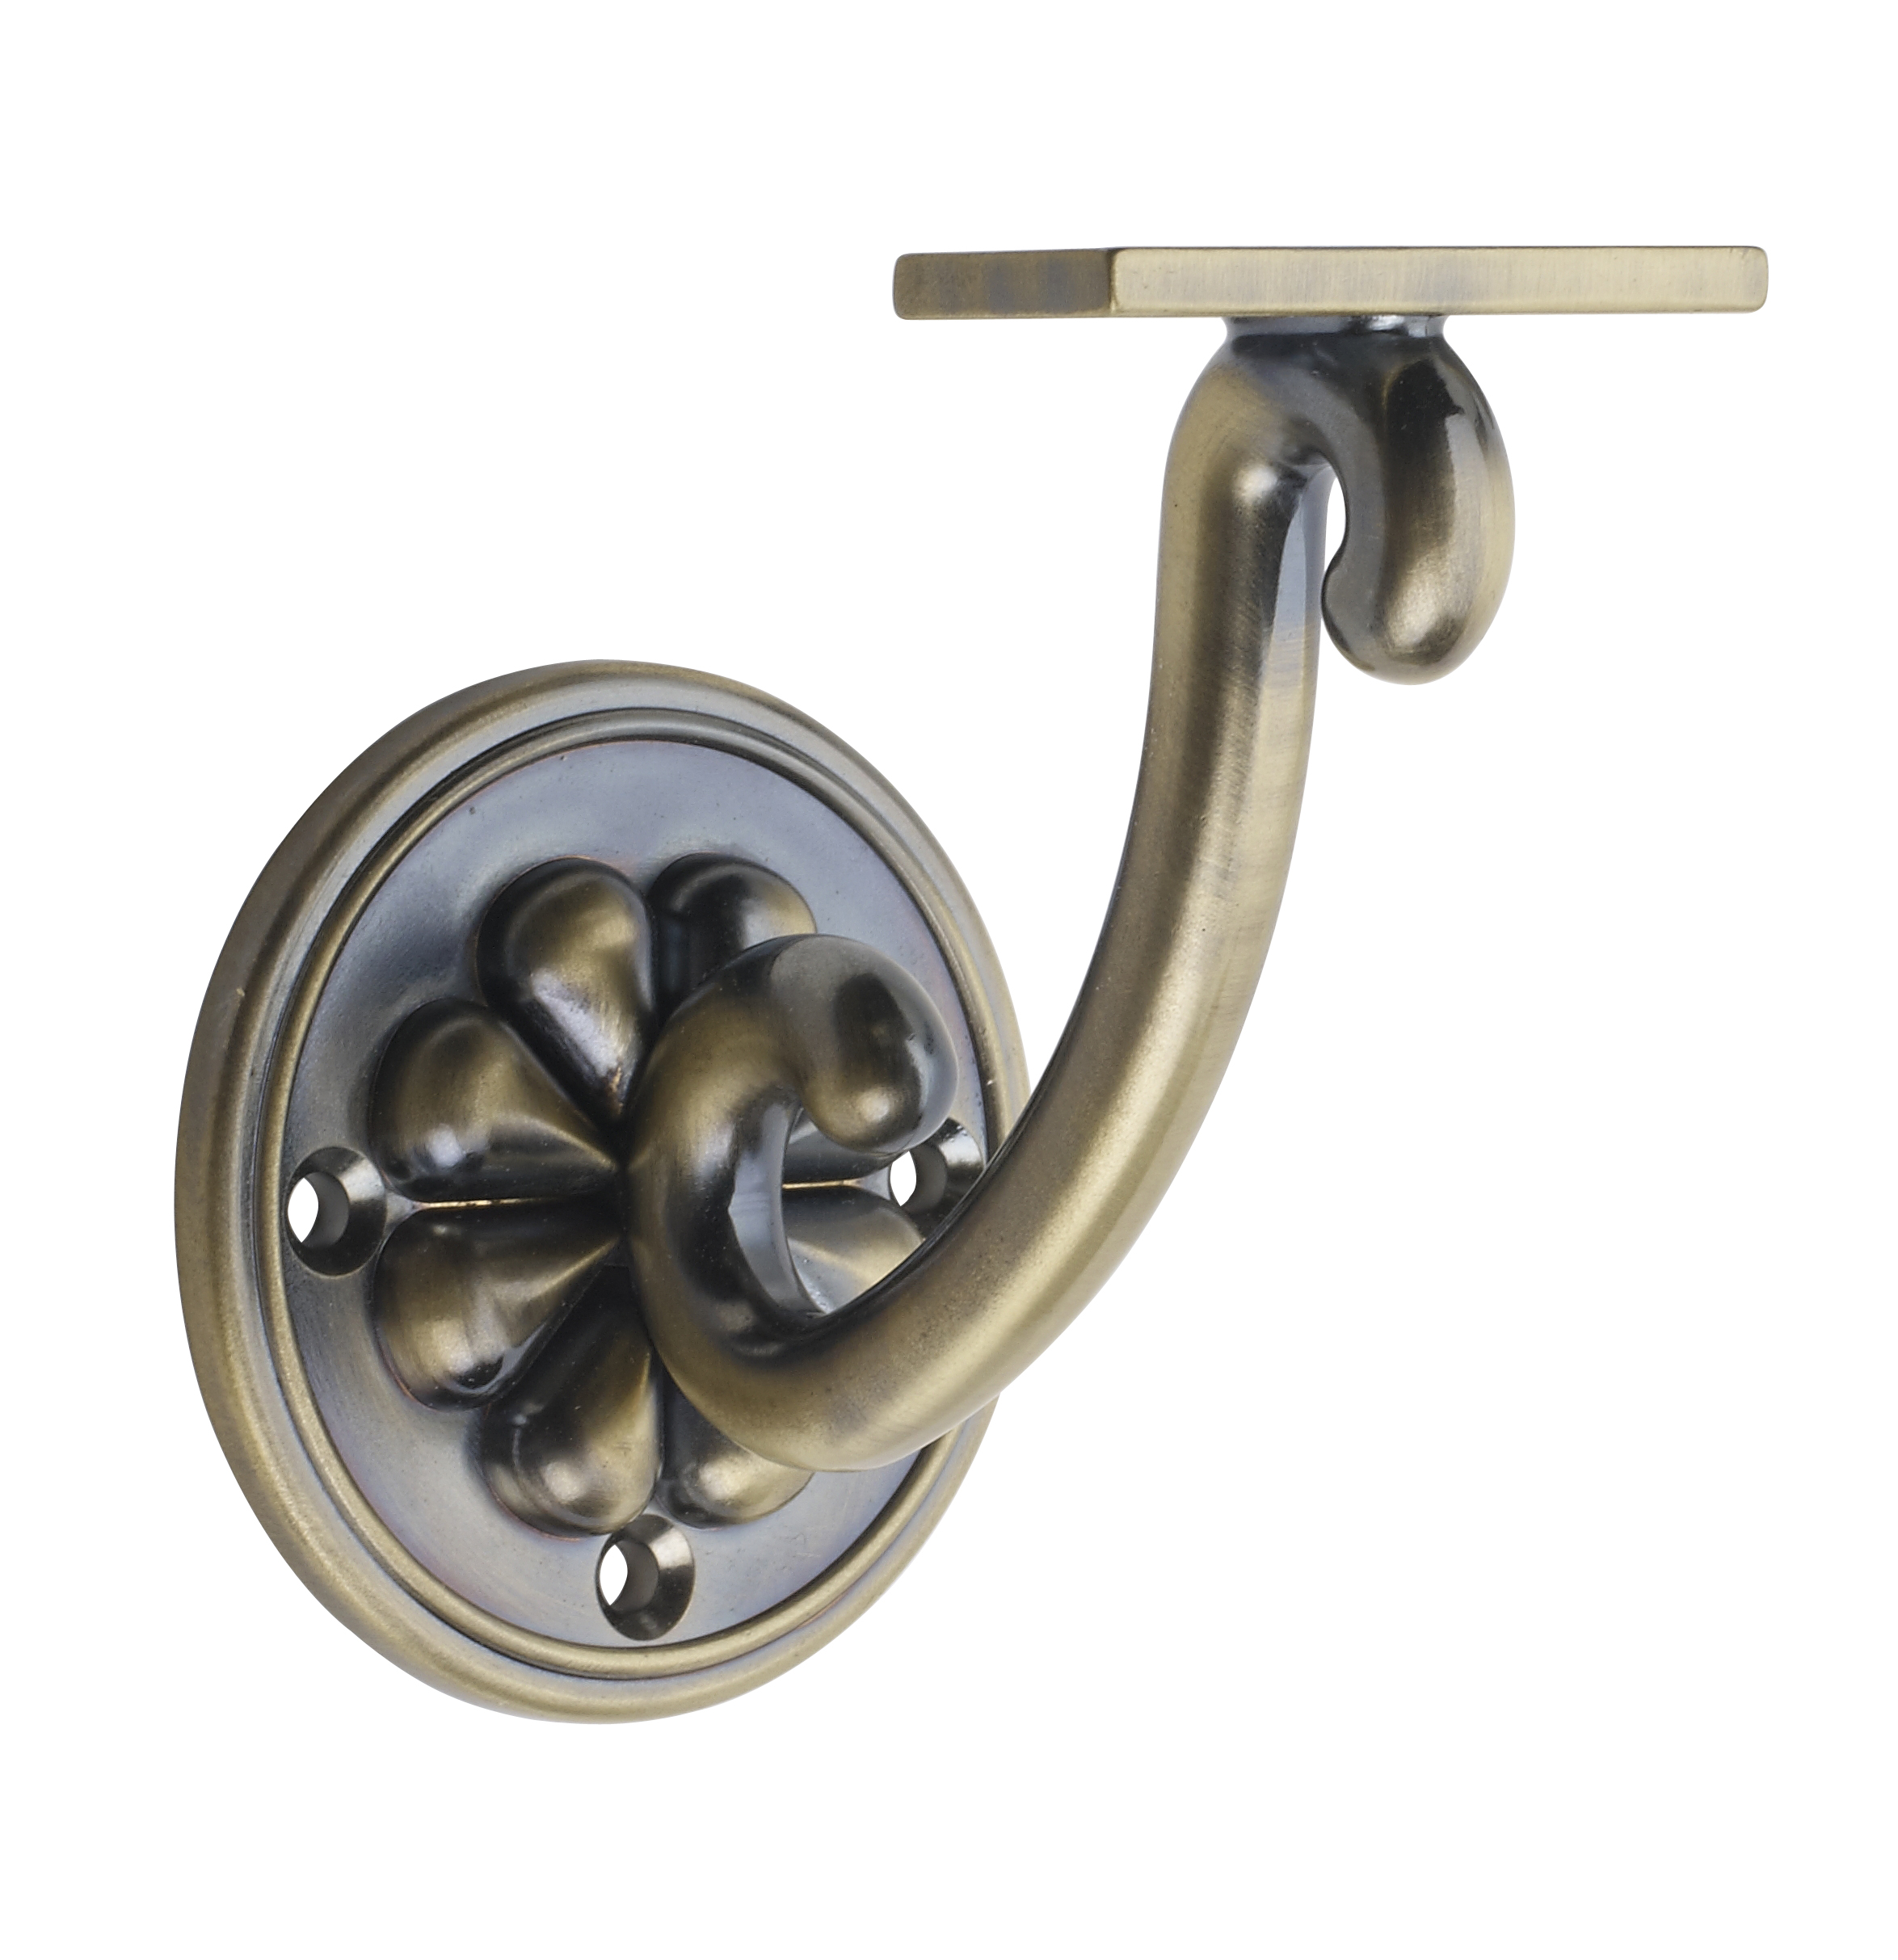 Antique Brass Petal Wall Bracket
ABPWB
Antique Brass Petal Wall Bracket
ABPWB
Metal brackets and end caps in a wide variety of styles
View Product Beaufort Metal Baluster Black Finish 850
BB085B
Beaufort Metal Baluster Black Finish 850
BB085B
Six different designs available, simply screw into rails
View Product BLACK SQUARE NEWEL CAP
BLNC
BLACK SQUARE NEWEL CAP
BLNC
Contemporary flat square newel cap in a metal black finish
View Product
Black Square Double Newel Cap
BLNCD
Contemporary flat square newel cap suitable for a double width newel post
View Product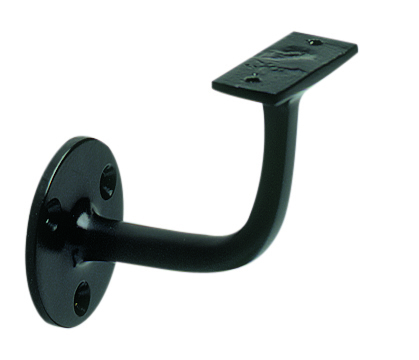 BRUSHED SQUARE NEWEL CAP
BNC
BRUSHED SQUARE NEWEL CAP
BNC
Contemporary flat square newel cap in a brushed chrome metal finish
View Product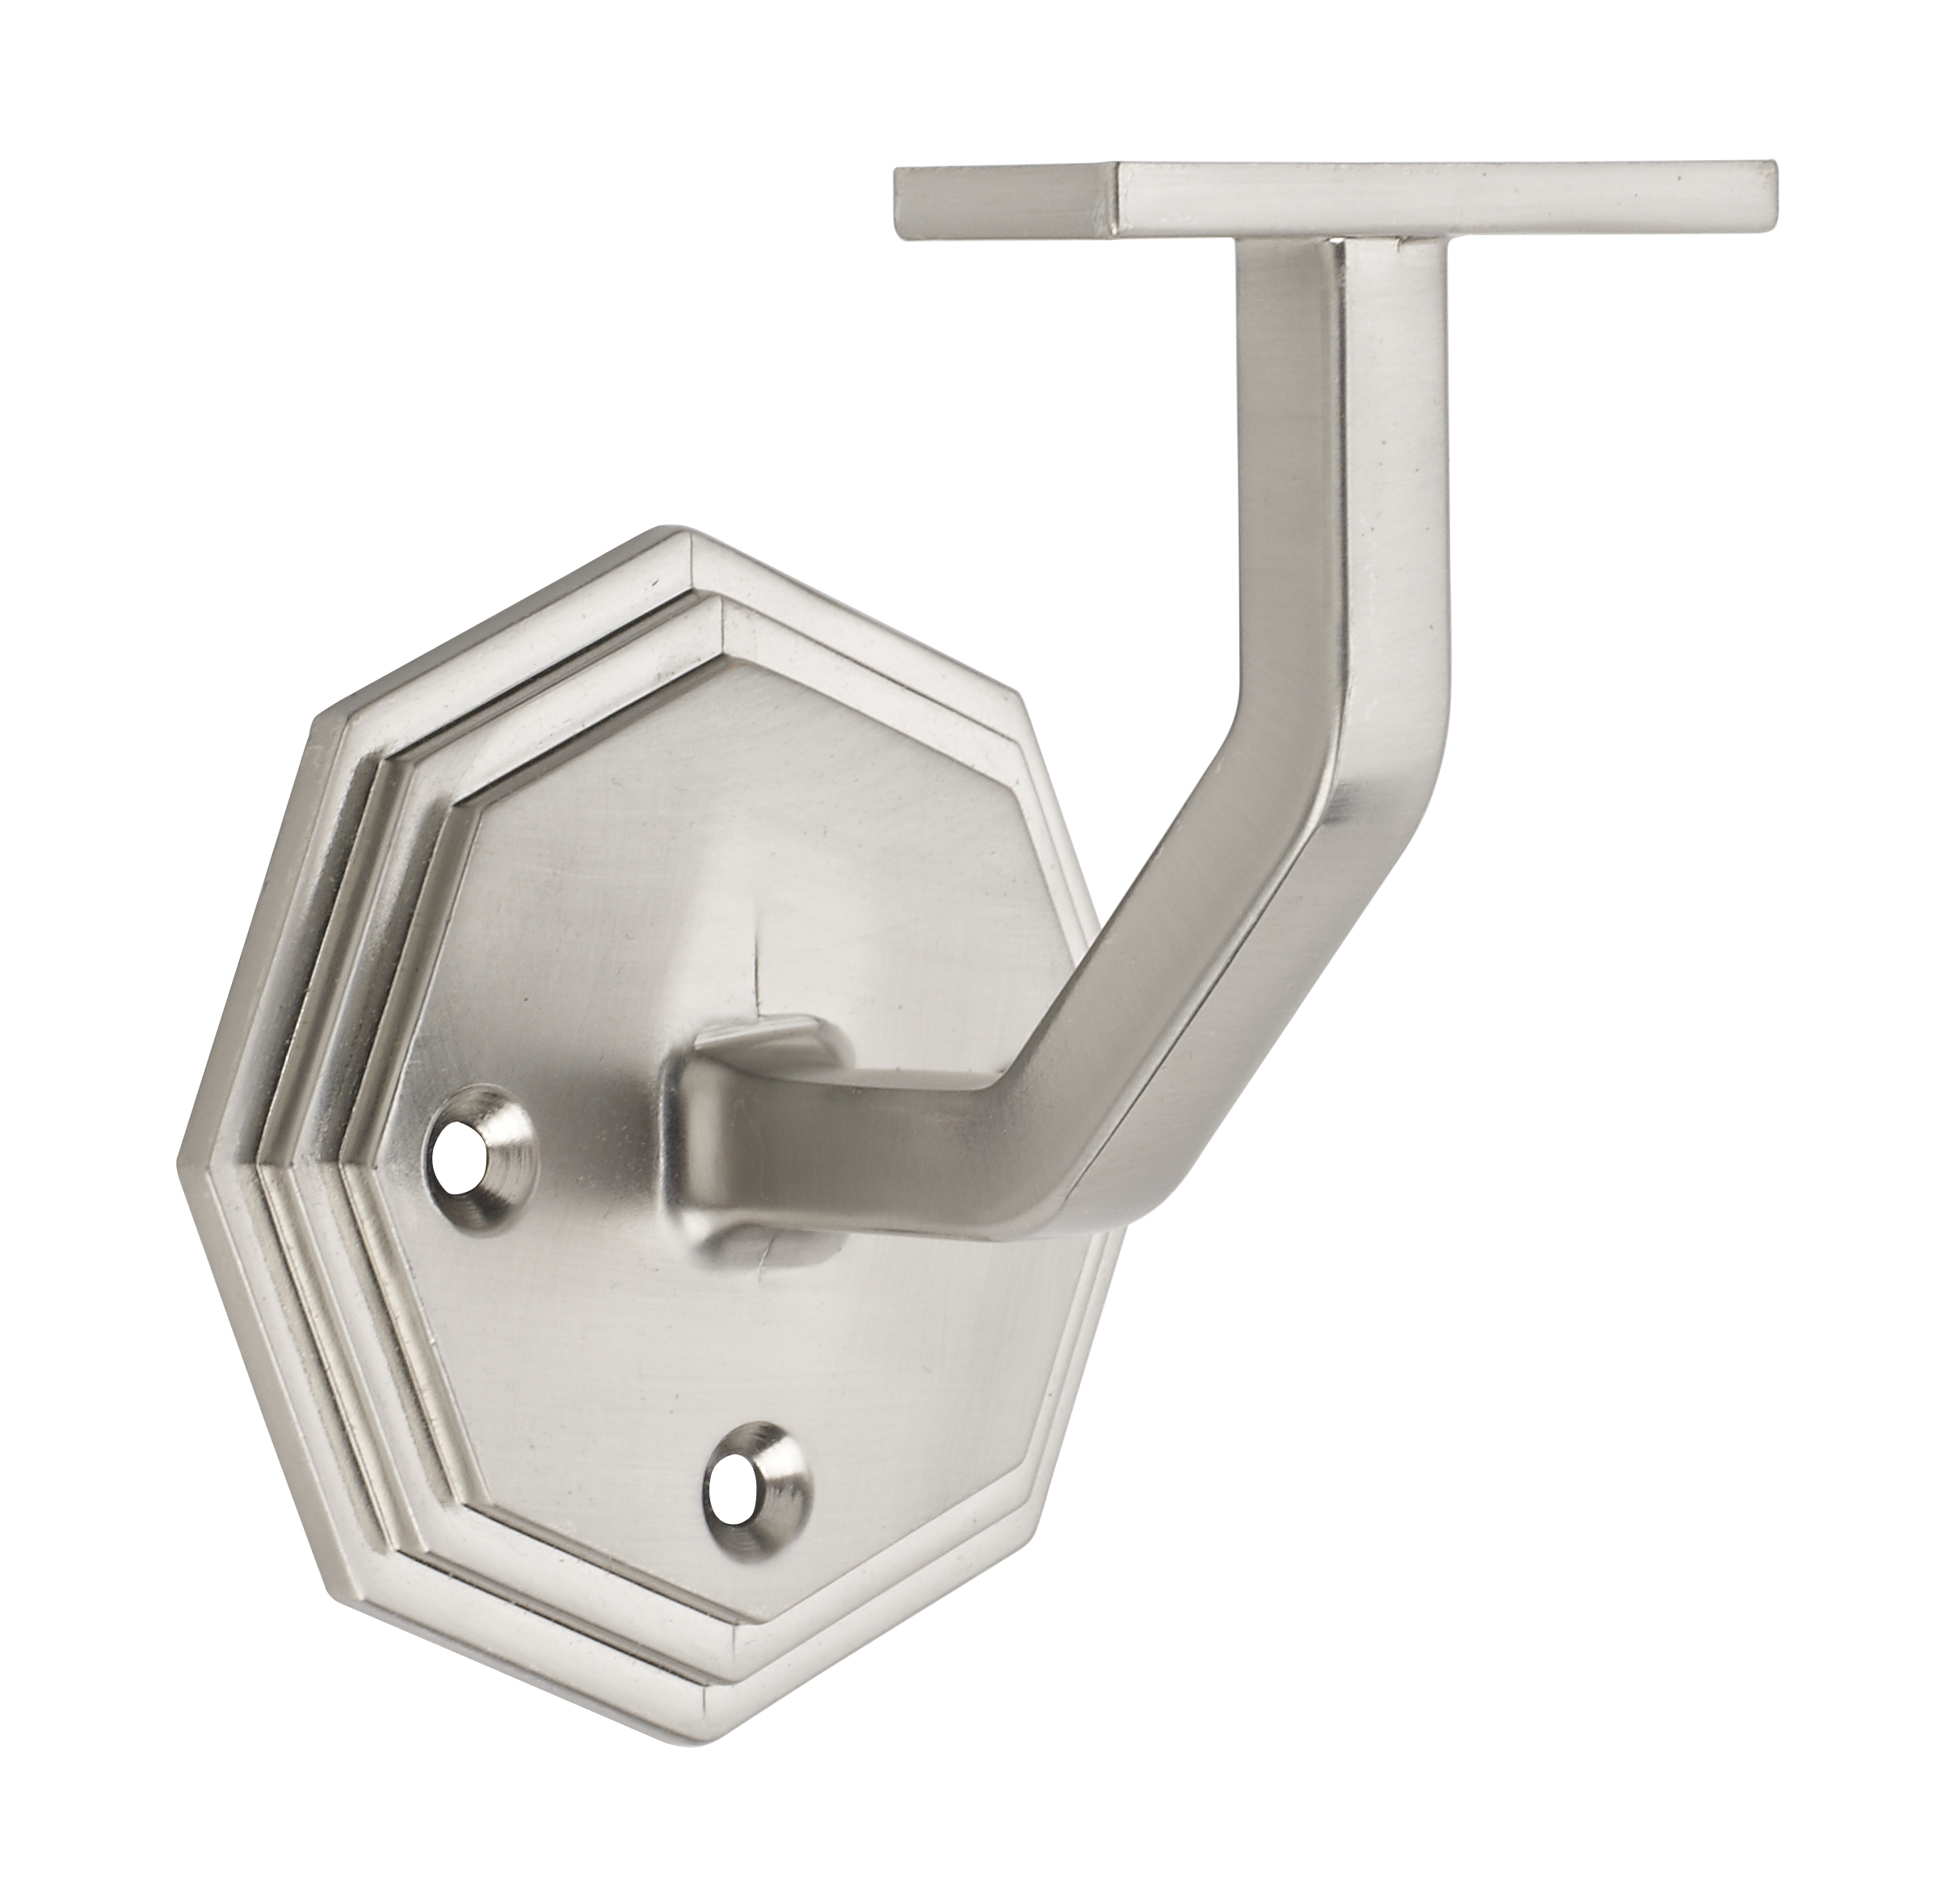 Octagonal Brushed Nickel Wall Bracket
BNOWB
Octagonal Brushed Nickel Wall Bracket
BNOWB
Metal brackets and end caps in a wide variety of styles
View Product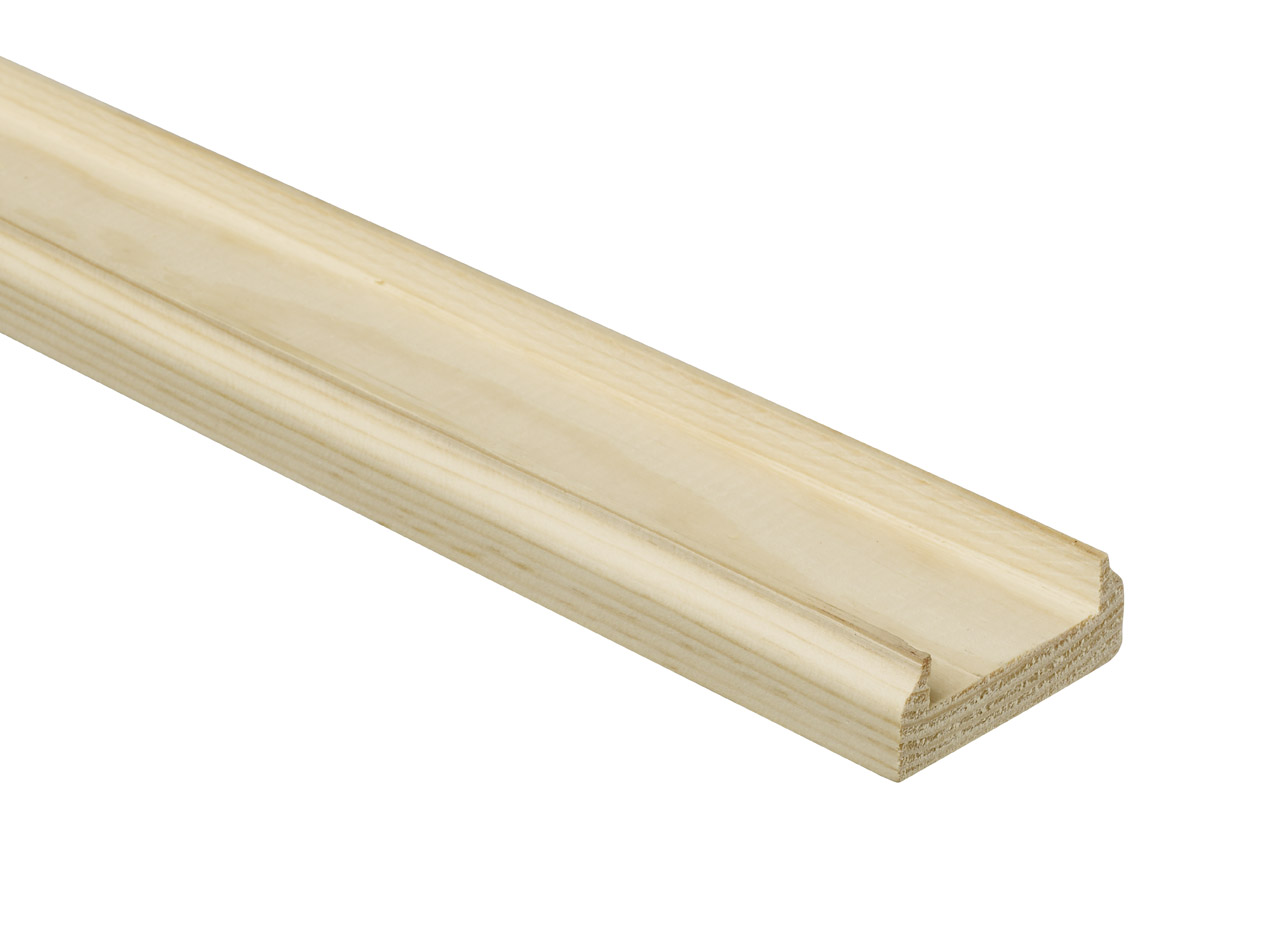 Pine Baserail 2400 32
BR2400/32P
Pine Baserail 2400 32
BR2400/32P
Eight spindle and baluster designs to choose from in 32mm and 41mm sizes
View ProductFAQs
Stairparts
Are you able to help with planning and installing?
Our helpful team of technical experts will be able to help you through the whole process.
If you need help with your project, Request A Design Consultation and our technical team will get back to you within 48 hours.
If you require any advice on installation and maintenance, get in touch with our technical team on technical@richardburbidge.co.uk.
Are your products strength tested?
Reliability and safety are vitally important to us at Richard Burbidge. This is why we put every stairparts and decking accessories collections through a series of rigorous tests and assessments by FIRA Furniture Industry Research Association (A BM TRADA Company) the recognised authorities in timber product testing.
Our decking accessories collections are also audited every year to strict standards by The Timber Decking & Cladding Association (TDCA), an independent, not-for-profit, technical and advisory organisation established to provide guidance on the selection, specification and use of timber for the construction of quality decking.
Richard Burbidge decking accessories also carry the TDCA’s DeckMark® Plus certification; a true sign of quality assurance.
Rigorous testing means you can choose Richard Burbidge with confidence. View our test reports here, and view our certifications here.
How do you attach a handrail to the wall?
To properly attach a handrail to the wall, follow these steps:
- Measure and Mark the Placement: Mark the desired height of the handrail, typically between 900mm and 1000mm from the stair tread. Ensure the handrail follows a straight line or conforms to any turns along the staircase.
- Position the Brackets: Mark the positions for the handrail brackets along the wall, ensuring the spacing is no more than 1.2m (4 feet) apart. Use a level to confirm the alignment.
- Drill and Install Brackets: Drill pilot holes for the brackets, ensuring you drill into wall studs or use appropriate anchors. Install the brackets securely using screws, ensuring they are level and firmly fixed.
- Attach the Handrail: Place the handrail onto the installed brackets and secure it with screws or bolts. Make sure the handrail is stable and has no movement.
- Final Check: Ensure all brackets are tightened and test the handrail for stability by applying light pressure.
Proper attachment ensures the handrail system is safe and compliant, particularly for commercial spaces or high-traffic areas.
How far apart should staircase spindles be?
Staircase spindles (or balusters) are typically spaced 4 to 6 inches apart to ensure compliance with building safety regulations and to provide a secure, functional railing system. This spacing offers a clean aesthetic and prevents gaps that could pose safety hazards, particularly in commercial environments. It's essential to check local building codes to ensure proper spacing, as regulations may vary by region, especially in high-traffic or public spaces.
How tall should handrails be?
Handrails should be installed at a height of 900mm to 1000mm (36 to 39 inches) from the stair tread to meet standard building codes. For public or commercial spaces, this height ensures accessibility and compliance with regulations such as the Disability Discrimination Act (DDA) and other local building codes. Always check regional codes as certain areas, particularly for public buildings, may have additional requirements regarding handrail height and load-bearing capacity.
How to install balusters?
Installing balusters is a straightforward process, critical for safety and appearance in commercial and residential stair installations. Here's how to do it:
- Measure the Spacing: Accurately measure the distance between the posts and determine the exact placement of each baluster, ensuring the spacing is consistent (usually between 4 and 6 inches).
- Cut to Fit: If necessary, cut the balusters to size to ensure they fit snugly between the handrail and base rail.
- Secure the Balusters: Apply wood adhesive to the bottom of each baluster and insert them into pre-drilled holes. Secure the top into the handrail using screws or nails, ensuring each baluster is tightly fixed.
- Final Adjustments: After installation, check alignment and make sure all balusters are securely in place.
This process is essential for maintaining structural integrity and safety in staircases, especially in commercial properties with heavy foot traffic.
How to install handrail brackets?
To install handrail brackets correctly, follow these steps:
- Measure the Handrail Height: Typically, handrails should be positioned at 900mm to 1000mm from the stair tread or floor. Mark the height consistently along the stairway.
- Position the Brackets: Mark the positions for the brackets, ensuring they are no more than 1.2m (4 feet) apart. Use a level to ensure accurate placement.
- Drill Pilot Holes: Drill pilot holes into the wall or newel posts where you’ve marked the bracket positions. For wall installations, ensure you drill into studs or use appropriate wall anchors.
- Install Brackets: Secure the brackets to the wall or newel posts with screws or anchors. Ensure each bracket is securely fastened and levelled.
- Attach the Handrail: Once the brackets are installed, mount the handrail onto the brackets and secure it using screws or bolts, ensuring a tight, stable fit.
Accurate installation ensures the handrail system complies with both safety standards and functional requirements.
How to install handrails on stairs?
Installing handrails on stairs is crucial from a safety and compliance perspective in stair design. Here’s a professional guide to installing handrails:
- Measure the Length: Accurately measure the total length of the stair run to ensure the handrail is the right size, factoring in the staircase’s rise and run.
- Position Brackets: Mark the location for handrail brackets on the wall or newel posts. Ensure they are placed at a consistent height (typically 900mm to 1000mm) for proper grip and usability.
- Install Brackets Securely: Fix the brackets to the wall or newel posts using appropriate wall anchors or screws. It’s critical to ensure the brackets are level and securely fastened for maximum stability.
- Attach the Handrail: Position the handrail onto the installed brackets and secure it using screws or adhesive, depending on the handrail type. Ensure the handrail is tightly fixed and offers full support.
- Quality Check: Verify that the handrail is securely attached by applying light pressure to check for movement or instability.
Proper installation ensures safety and longevity, which is critical in commercial and high-traffic spaces.
How to install spindles?
The installation of spindles is similar to that of balusters, with a focus on precision and safety. Here’s how to install them:
- Measure the Length and Placement: Measure the distance between the handrail and base rail, adjusting for any stair angles.
- Cut the Spindles: Trim the spindles to the correct length, using a saw or appropriate cutting tool.
- Install the Spindles: Position the spindles vertically between the handrail and base rail. Use adhesive to secure the bottom and screws or nails to fasten the top, ensuring the spindles are aligned straight.
- Complete the Look: Once the spindles are secure, use trim or caps to cover any exposed areas and provide a clean, polished finish.
This ensures a secure, compliant installation, especially in high-traffic areas where durability and safety are paramount.
How to measure handrail brackets?
Measuring for handrail brackets requires careful planning to ensure secure installation and compliance:
- Determine the Handrail Height: Start by marking the height for the handrail along the staircase, usually 900mm to 1000mm above the tread. For commercial or high-traffic areas, ensure the handrail height complies with local regulations.
- Spacing Between Brackets: Measure the spacing between brackets. They should be spaced no more than 1.2m (4 feet) apart, but the spacing may need to be reduced based on the handrail material, weight and usage (e.g., for commercial properties or heavy-use areas).
- Positioning on the Staircase: For staircases with curves or landings, place brackets at each change in direction, ensuring they provide adequate support.
- Check Wall or Newel Post Compatibility: Measure the location where the brackets will attach to the wall or newel posts, ensuring alignment with the handrail and structural integrity.
Measuring accurately is critical for a professional and secure installation, ensuring the handrail provides both safety and durability.
How to replace balusters?
Replacing balusters is often necessary for refurbishing existing staircases or updating the design. Here's a quick guide:
- Remove the Existing Balusters: Use a crowbar or screwdriver to gently remove old balusters. If they're nailed or screwed, carefully extract the fasteners.
- Prepare the New Balusters: Measure and trim the new balusters to the correct height, ensuring they meet both aesthetic and safety requirements.
- Install the New Balusters: Insert the new balusters into place, securing them with adhesive and fasteners. Ensure they are aligned and spaced correctly according to the building code.
- Finish the Installation: Once in place, check the stability of the new balusters and make any necessary adjustments to ensure a secure, professional finish.
This process ensures a seamless update to any existing stair system, enhancing both safety and appearance.
Is a handrail a legal requirement?
Yes, handrails are a legal requirement in most residential, commercial, and public buildings. Building regulations typically mandate the installation of handrails on stairs with more than three steps to ensure safety and accessibility. The specific requirements may vary, but handrails are essential for preventing falls and offering support, especially in high-traffic environments like commercial properties. Always check local building codes and regulations for your project to ensure compliance with safety standards.
What are the different types of handrails?
When choosing handrails for a project, it’s essential to select the right type based on the design, functionality, and regulatory requirements. Common types include:
- Straight Handrails: Ideal for straightforward staircases, these provide robust support and are easy to install.
- Curved Handrails: Typically used for stairs with landings, curves, or bends, these handrails require precise measurements and custom fitting.
- Wall-Mounted Handrails: Fixed directly to the wall, these are perfect for narrow spaces or where space limitations prevent the use of traditional post-supported handrails.
- Newel Post Handrails: Often used in conjunction with posts at the top and bottom of the stairs, these provide additional structural support and are commonly found in traditional staircases.
- Glass Handrails: Used in modern or contemporary designs, glass handrails offer a sleek, minimalistic appearance while providing a secure barrier.
Each type of handrail serves specific design and safety needs, so it’s important to choose the right one for your project’s requirements and building codes.
What finishing products can I use?
Stairparts products must be finished after installation, to seal the pores, protect the surface and give the final touches for the best appearance. Some finishes we recommend are wood stains, crackle glaze, marbling, graining, dragging, wax brush, distressed, rag rolling, speckle, sponging, lime wash, or plain painted.
Successful finishing will depend on the correct preparation of the surface, filling of nail holes, and sanding to remove marks which will have occurred during installation.
Our Fusion® collection offers a finished oak and finished pine, and our Immix® collection also offers a finished white oak, with no varnishing or finishing required, your installation time will be cut in half.
Categories
Our stairparts, mouldings and timber are categorised to help you easily find the product you need.
Wall Panelling
From classic charm to contemporary flair, our range of wall panels and boards add texture, style and personality to any space. Explore high-quality interior wall panelling expertly designed to suit any style or room design.
Design ServiceStairparts
From timeless wooden spindles to sleek modern handrails, explore the full collection of Richard Burbidge stairparts and stair systems. Designed for every style and staircase design, our components combine expert craftsmanship with easy installation.
Design ServiceShop By Collection
Mouldings
From finishing trims to standout features, our expertly crafted mouldings offer quality, versatility, and timeless design. Choose from a wide range of profiles and materials to elevate walls, doors, windows, and more.
Design ServiceShop By Collection
Shop By Part
Outdoor
Transform your outdoor spaces with our expertly crafted range of timber balustrades, panels, porches, and accessories. Whether you're creating a classic garden retreat or a sleek, contemporary deck, our collections offer high-quality, treated timber and low-maintenance solutions built to last.
Design Service