
Pine Plain Baluster 900 32


Specification
| Material | Pine |
| Finish | Smooth |
| Height | 900mm |
| Length | 32mm |
| Depth | 32mm |
| Weight | 0.450 Kg |
| Product Type | Baluster |
| Unit of Measure | Each |
| Pack Quantity | 1 |
Eight spindle and baluster designs to choose from in 32mm and 41mm sizes
Product Description
- All Richard Burbidge ranges have been full tested to comply with Doesmtic regulations
People Also Viewed
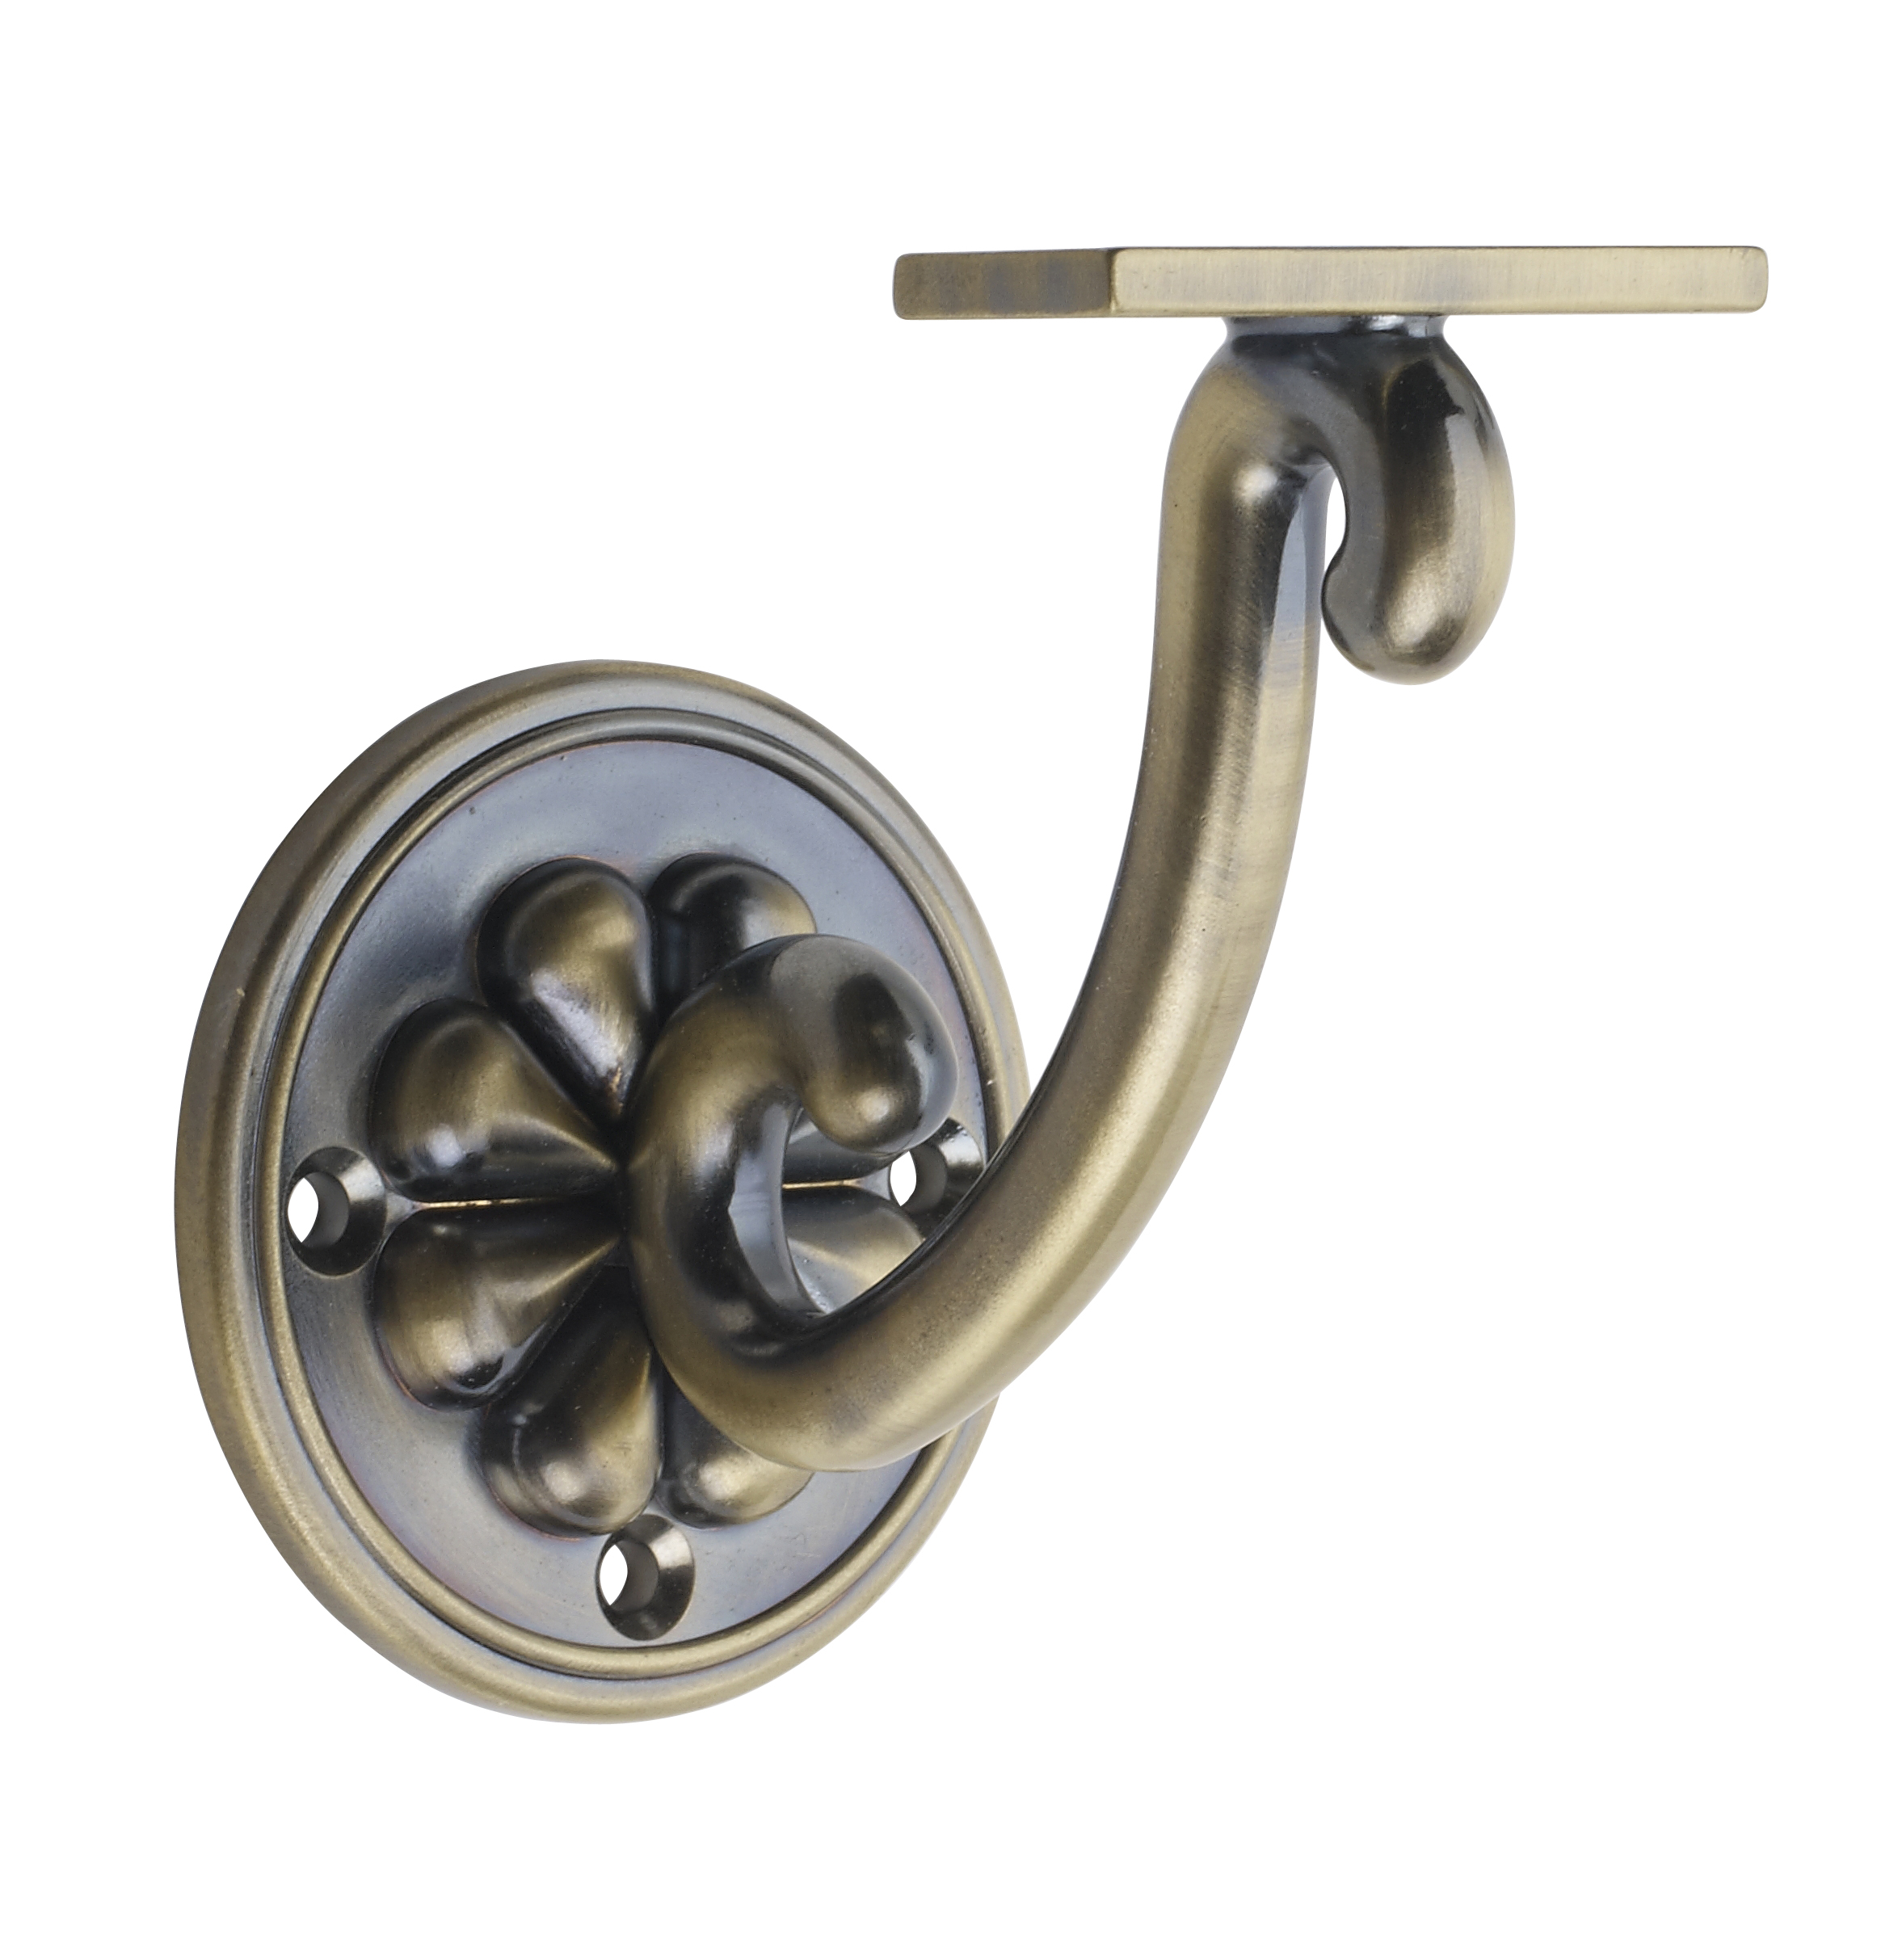
Metal brackets and end caps in a wide variety of styles

Six different designs available, simply screw into rails
Contemporary flat square newel cap in a metal black finish
Contemporary flat square newel cap suitable for a double width newel post
Be Inspired
Our top tips, advice and testimonials to help you get the best out of Richard Burbidge products. Discover our range and find everything from inspiration and ideas to installation and maintenance advice.


Trademark
For a beautifully traditional staircase, choose the Trademark collection, designed to celebrate timeless detailing and solid craftsmanship. This range features turned newels, handrails, baserails, spindles, and newel caps. All precision-engineered in high-quality timber for a seamless fit and enduring finish. [read_more]
From grand statement staircases to subtle period renovations, Trademark stairparts offer the versatility and authenticity needed to complement classic interiors. We have several beautiful timbers to choose from, oak, hemlock, pine and a white finish. Find the perfect style that suits your home and budget.
View All ProductsSpindles and Balusters FAQs
How far apart should staircase spindles be?
Staircase spindles (or balusters) are typically spaced 4 to 6 inches apart to ensure compliance with building safety regulations and to provide a secure, functional railing system. This spacing offers a clean aesthetic and prevents gaps that could pose safety hazards, particularly in commercial environments. It's essential to check local building codes to ensure proper spacing, as regulations may vary by region, especially in high-traffic or public spaces.
How to install balusters?
Installing balusters is a straightforward process, critical for safety and appearance in commercial and residential stair installations. Here's how to do it:
- Measure the Spacing: Accurately measure the distance between the posts and determine the exact placement of each baluster, ensuring the spacing is consistent (usually between 4 and 6 inches).
- Cut to Fit: If necessary, cut the balusters to size to ensure they fit snugly between the handrail and base rail.
- Secure the Balusters: Apply wood adhesive to the bottom of each baluster and insert them into pre-drilled holes. Secure the top into the handrail using screws or nails, ensuring each baluster is tightly fixed.
- Final Adjustments: After installation, check alignment and make sure all balusters are securely in place.
This process is essential for maintaining structural integrity and safety in staircases, especially in commercial properties with heavy foot traffic.
How to install spindles?
The installation of spindles is similar to that of balusters, with a focus on precision and safety. Here’s how to install them:
- Measure the Length and Placement: Measure the distance between the handrail and base rail, adjusting for any stair angles.
- Cut the Spindles: Trim the spindles to the correct length, using a saw or appropriate cutting tool.
- Install the Spindles: Position the spindles vertically between the handrail and base rail. Use adhesive to secure the bottom and screws or nails to fasten the top, ensuring the spindles are aligned straight.
- Complete the Look: Once the spindles are secure, use trim or caps to cover any exposed areas and provide a clean, polished finish.
This ensures a secure, compliant installation, especially in high-traffic areas where durability and safety are paramount.
How to replace balusters?
Replacing balusters is often necessary for refurbishing existing staircases or updating the design. Here's a quick guide:
- Remove the Existing Balusters: Use a crowbar or screwdriver to gently remove old balusters. If they're nailed or screwed, carefully extract the fasteners.
- Prepare the New Balusters: Measure and trim the new balusters to the correct height, ensuring they meet both aesthetic and safety requirements.
- Install the New Balusters: Insert the new balusters into place, securing them with adhesive and fasteners. Ensure they are aligned and spaced correctly according to the building code.
- Finish the Installation: Once in place, check the stability of the new balusters and make any necessary adjustments to ensure a secure, professional finish.
This process ensures a seamless update to any existing stair system, enhancing both safety and appearance.
