Handrail Brackets
At Richard Burbidge, we offer a premium range of handrail brackets to suit all types of staircases and interiors.
Handrail brackets add stability and style to any staircase, allowing you to build a wall-mounted handrail that perfectly matches the space’s overall design.
Our stair handrail brackets and wall-mounted accessories come in a range of styles and materials, including oak, pine and metal. Mix and match with end caps, handrails, spindles and newel posts to create the perfect staircase for your project. Browse both individual bannister brackets and complete wall-mounted handrail kits below.
All our handrail brackets are built for lasting performance and effortless installation.
Our Design Service9 products
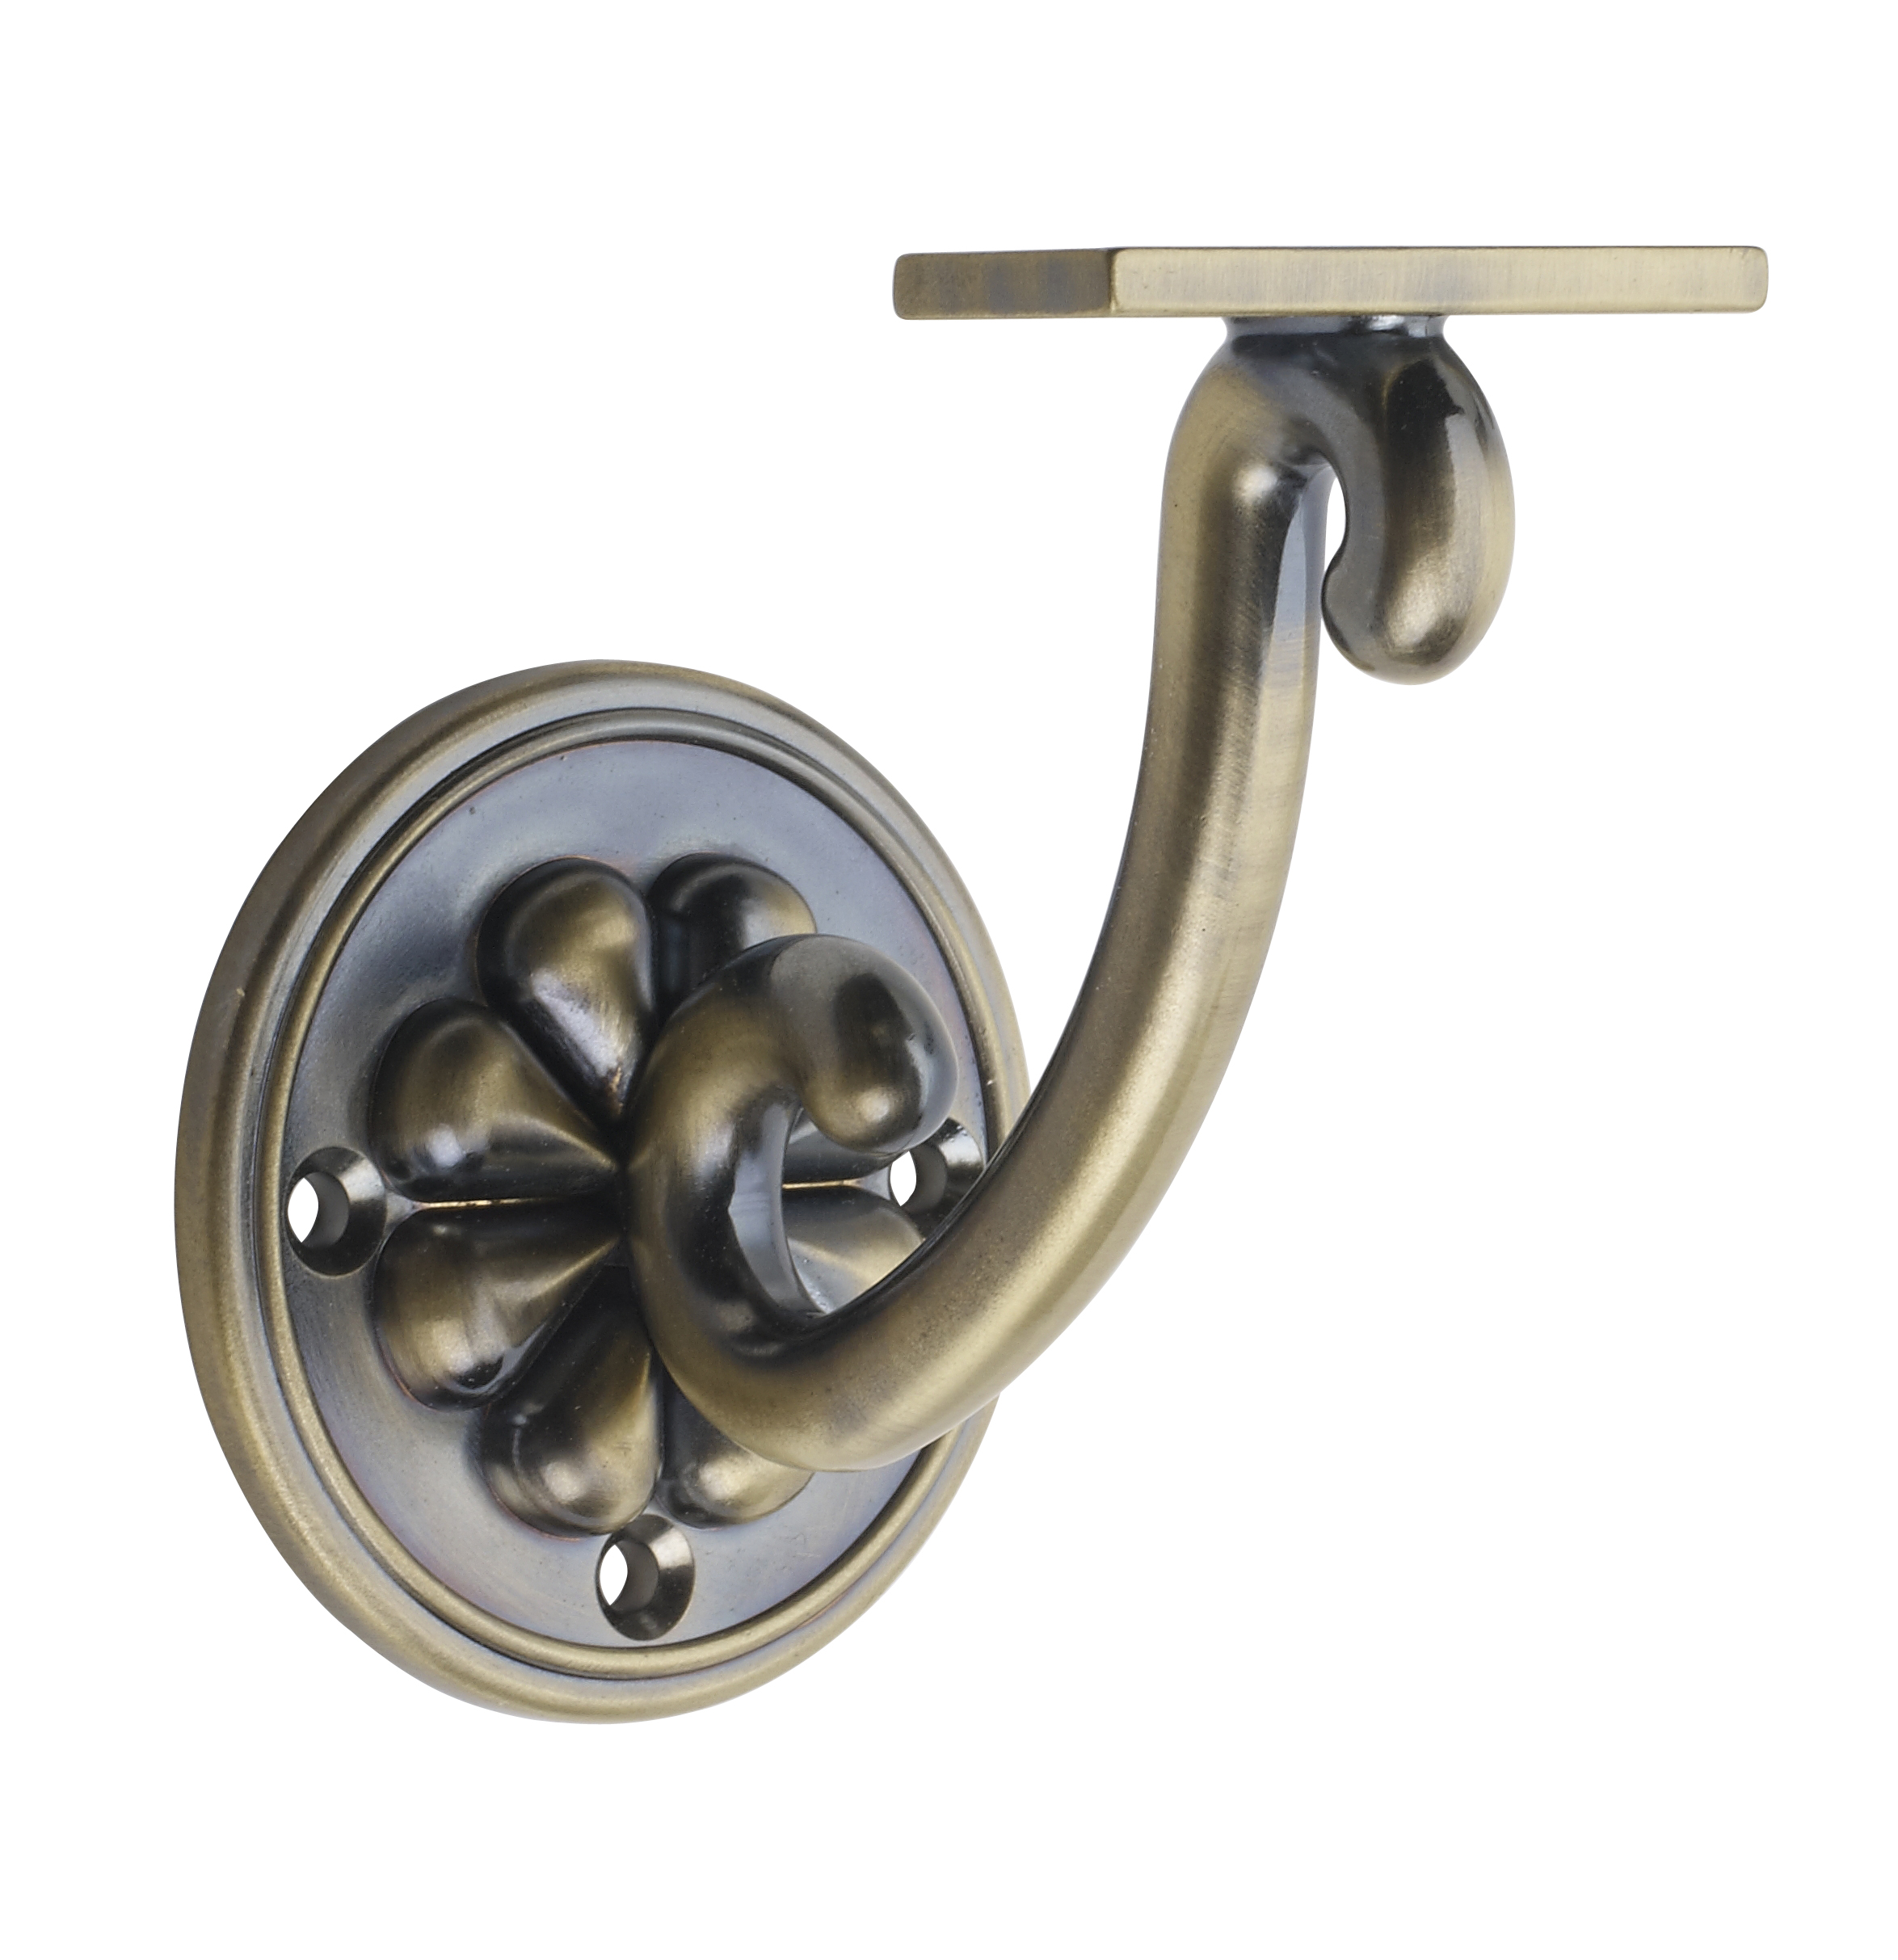 Antique Brass Petal Wall Bracket
ABPWB
Antique Brass Petal Wall Bracket
ABPWB
Metal brackets and end caps in a wide variety of styles
View Product
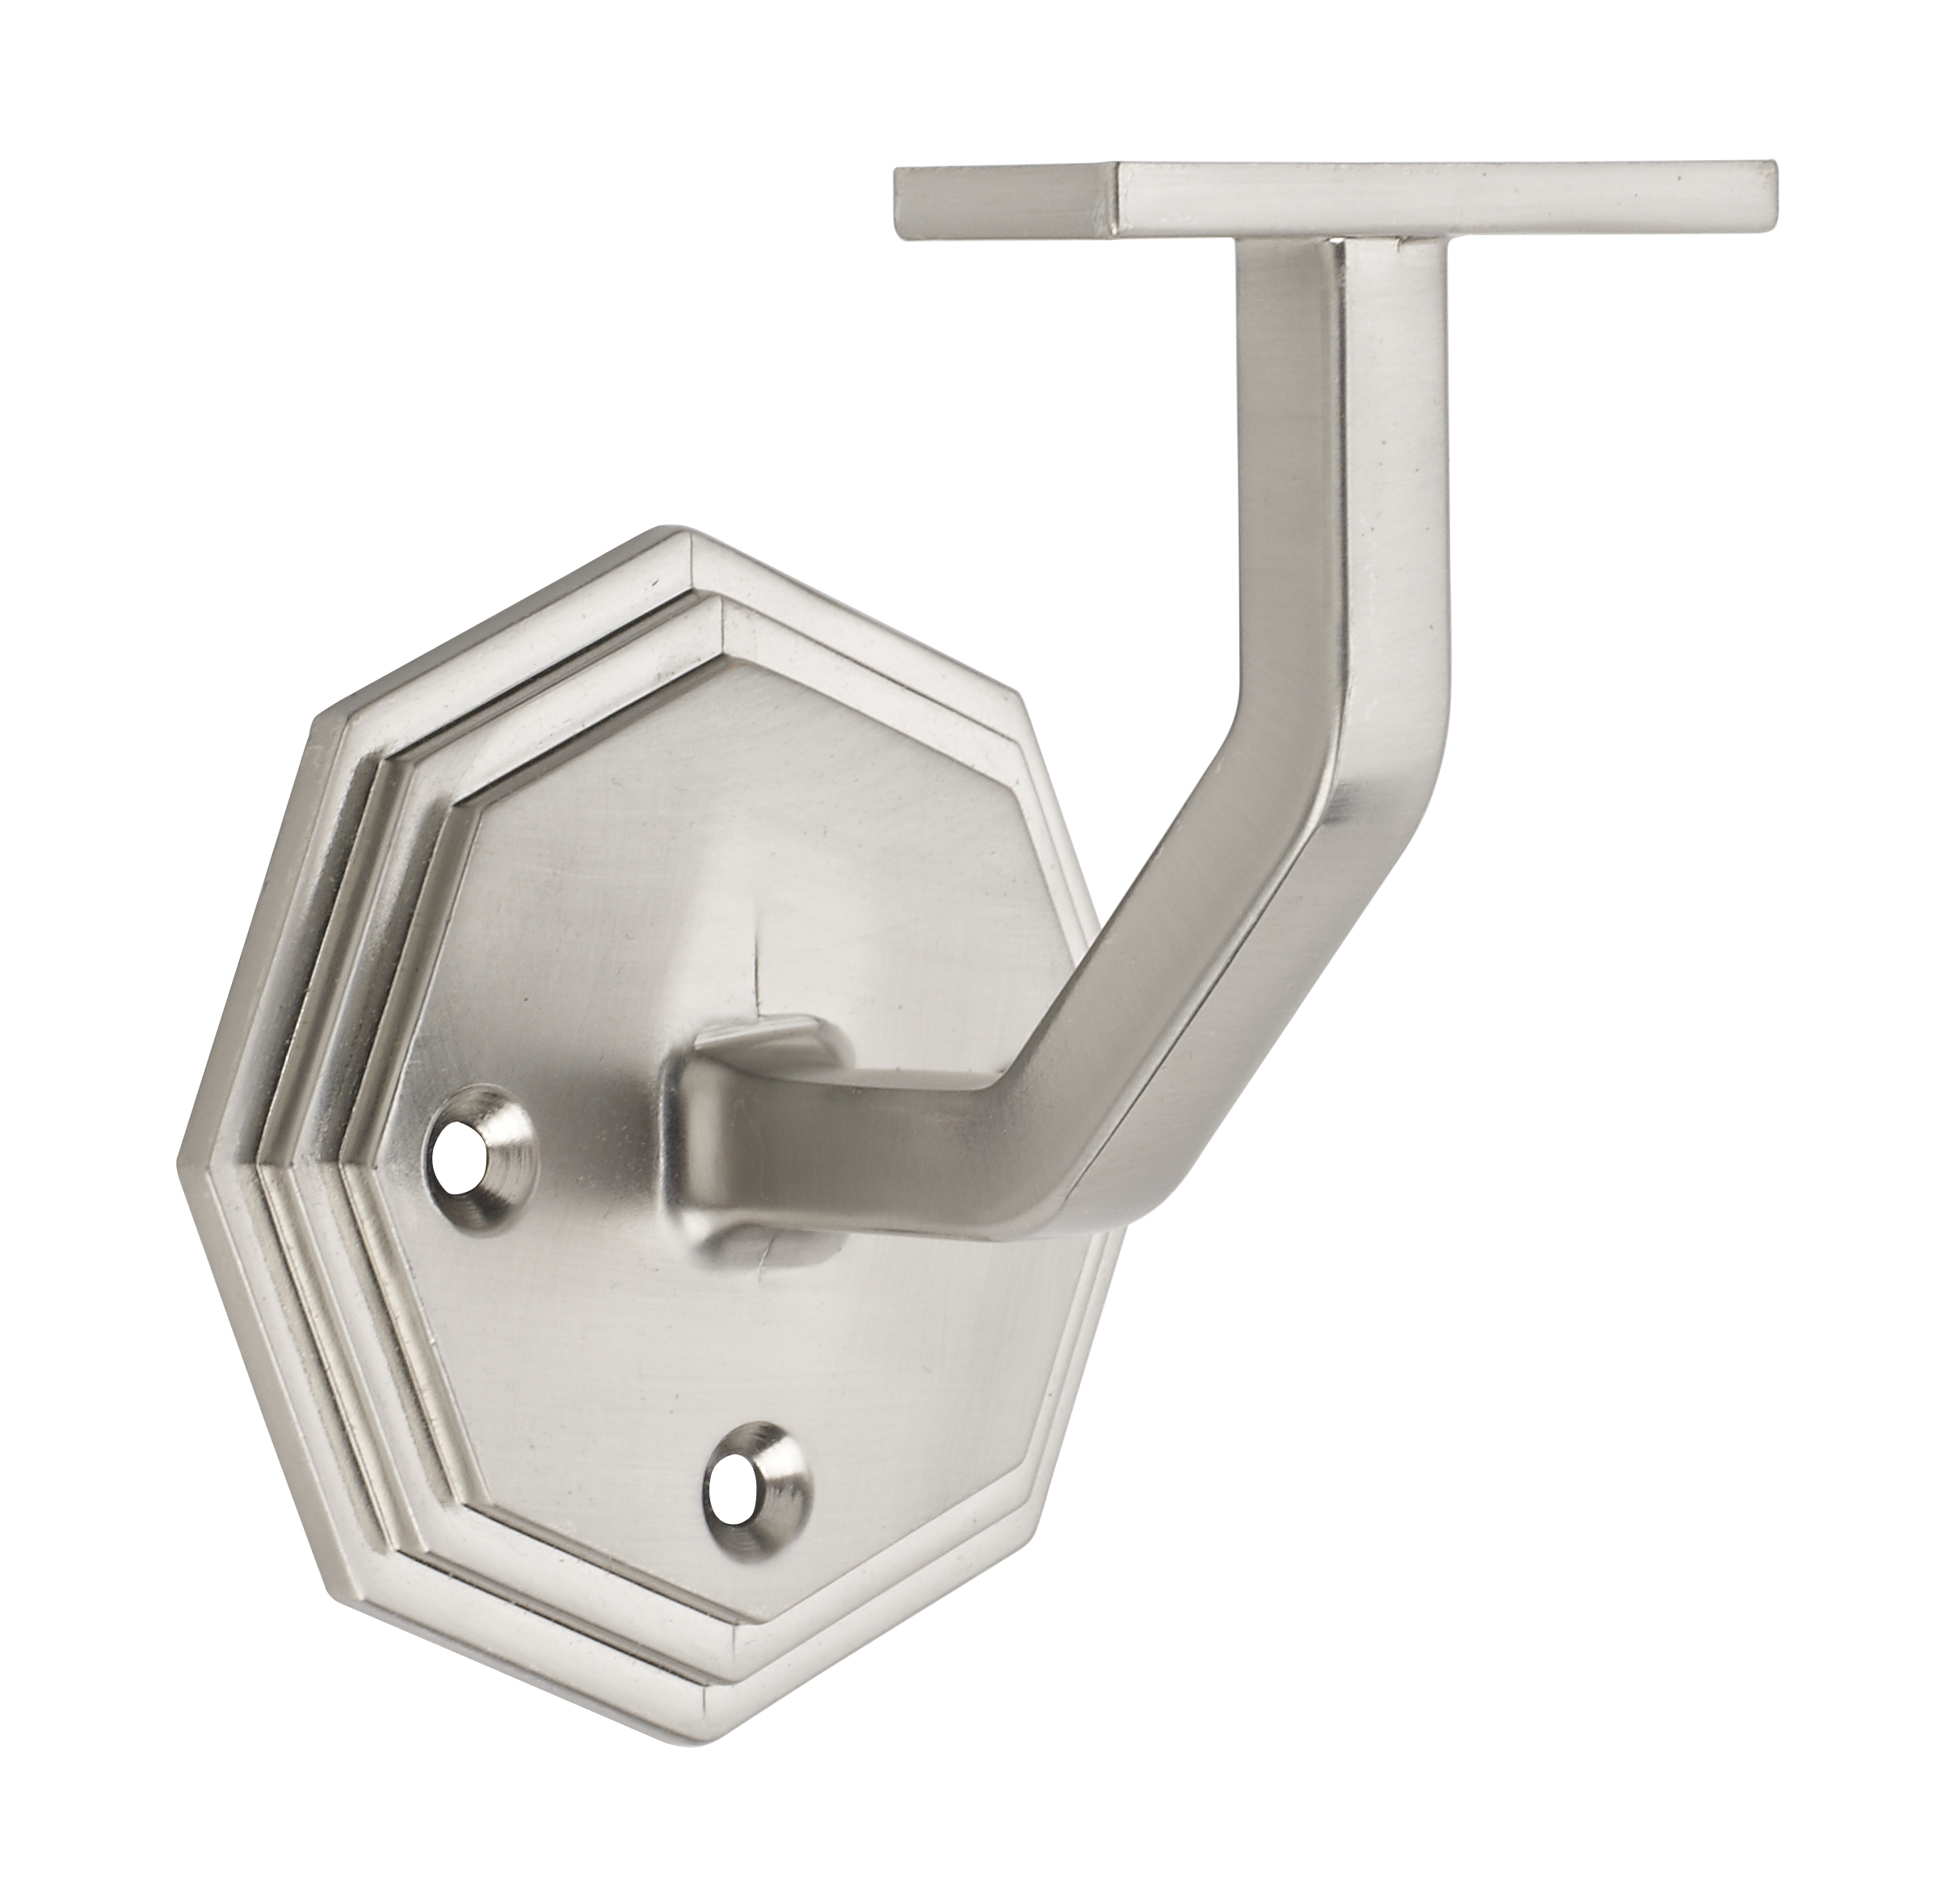 Octagonal Brushed Nickel Wall Bracket
BNOWB
Octagonal Brushed Nickel Wall Bracket
BNOWB
Metal brackets and end caps in a wide variety of styles
View Product
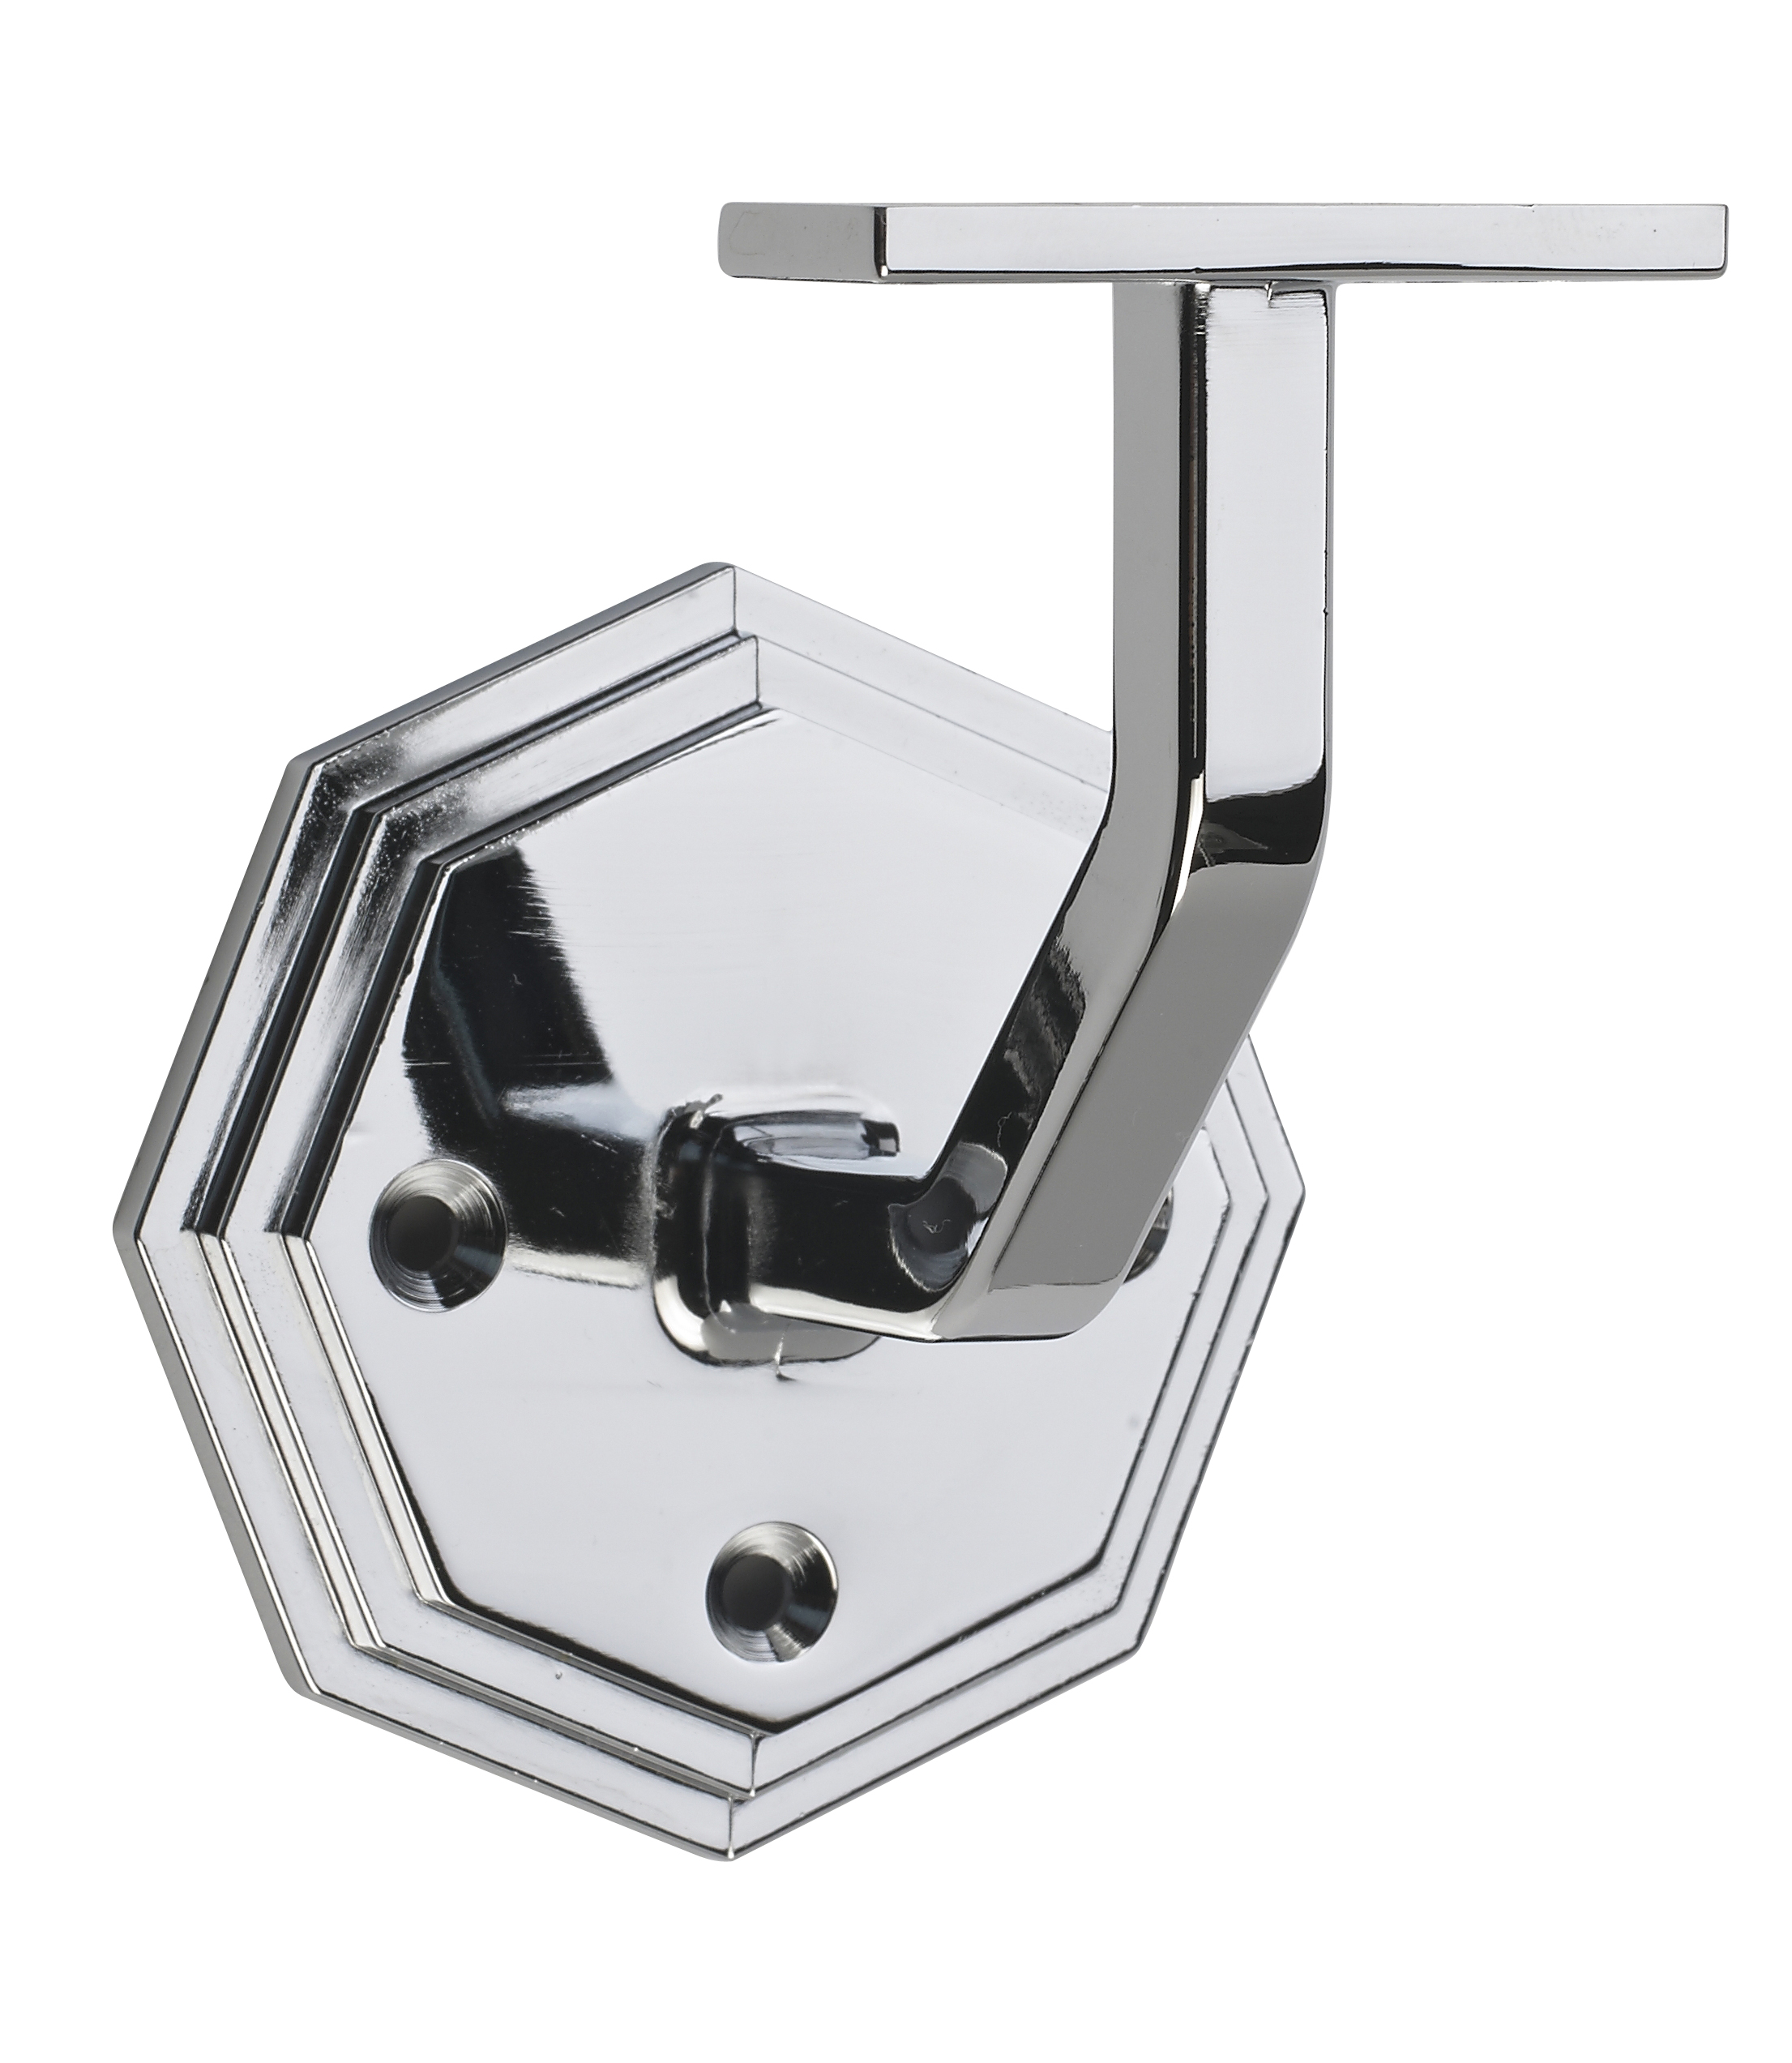 Octagonal Chrome Wall Bracket
COWB
Octagonal Chrome Wall Bracket
COWB
Metal brackets and end caps in a wide variety of styles
View Product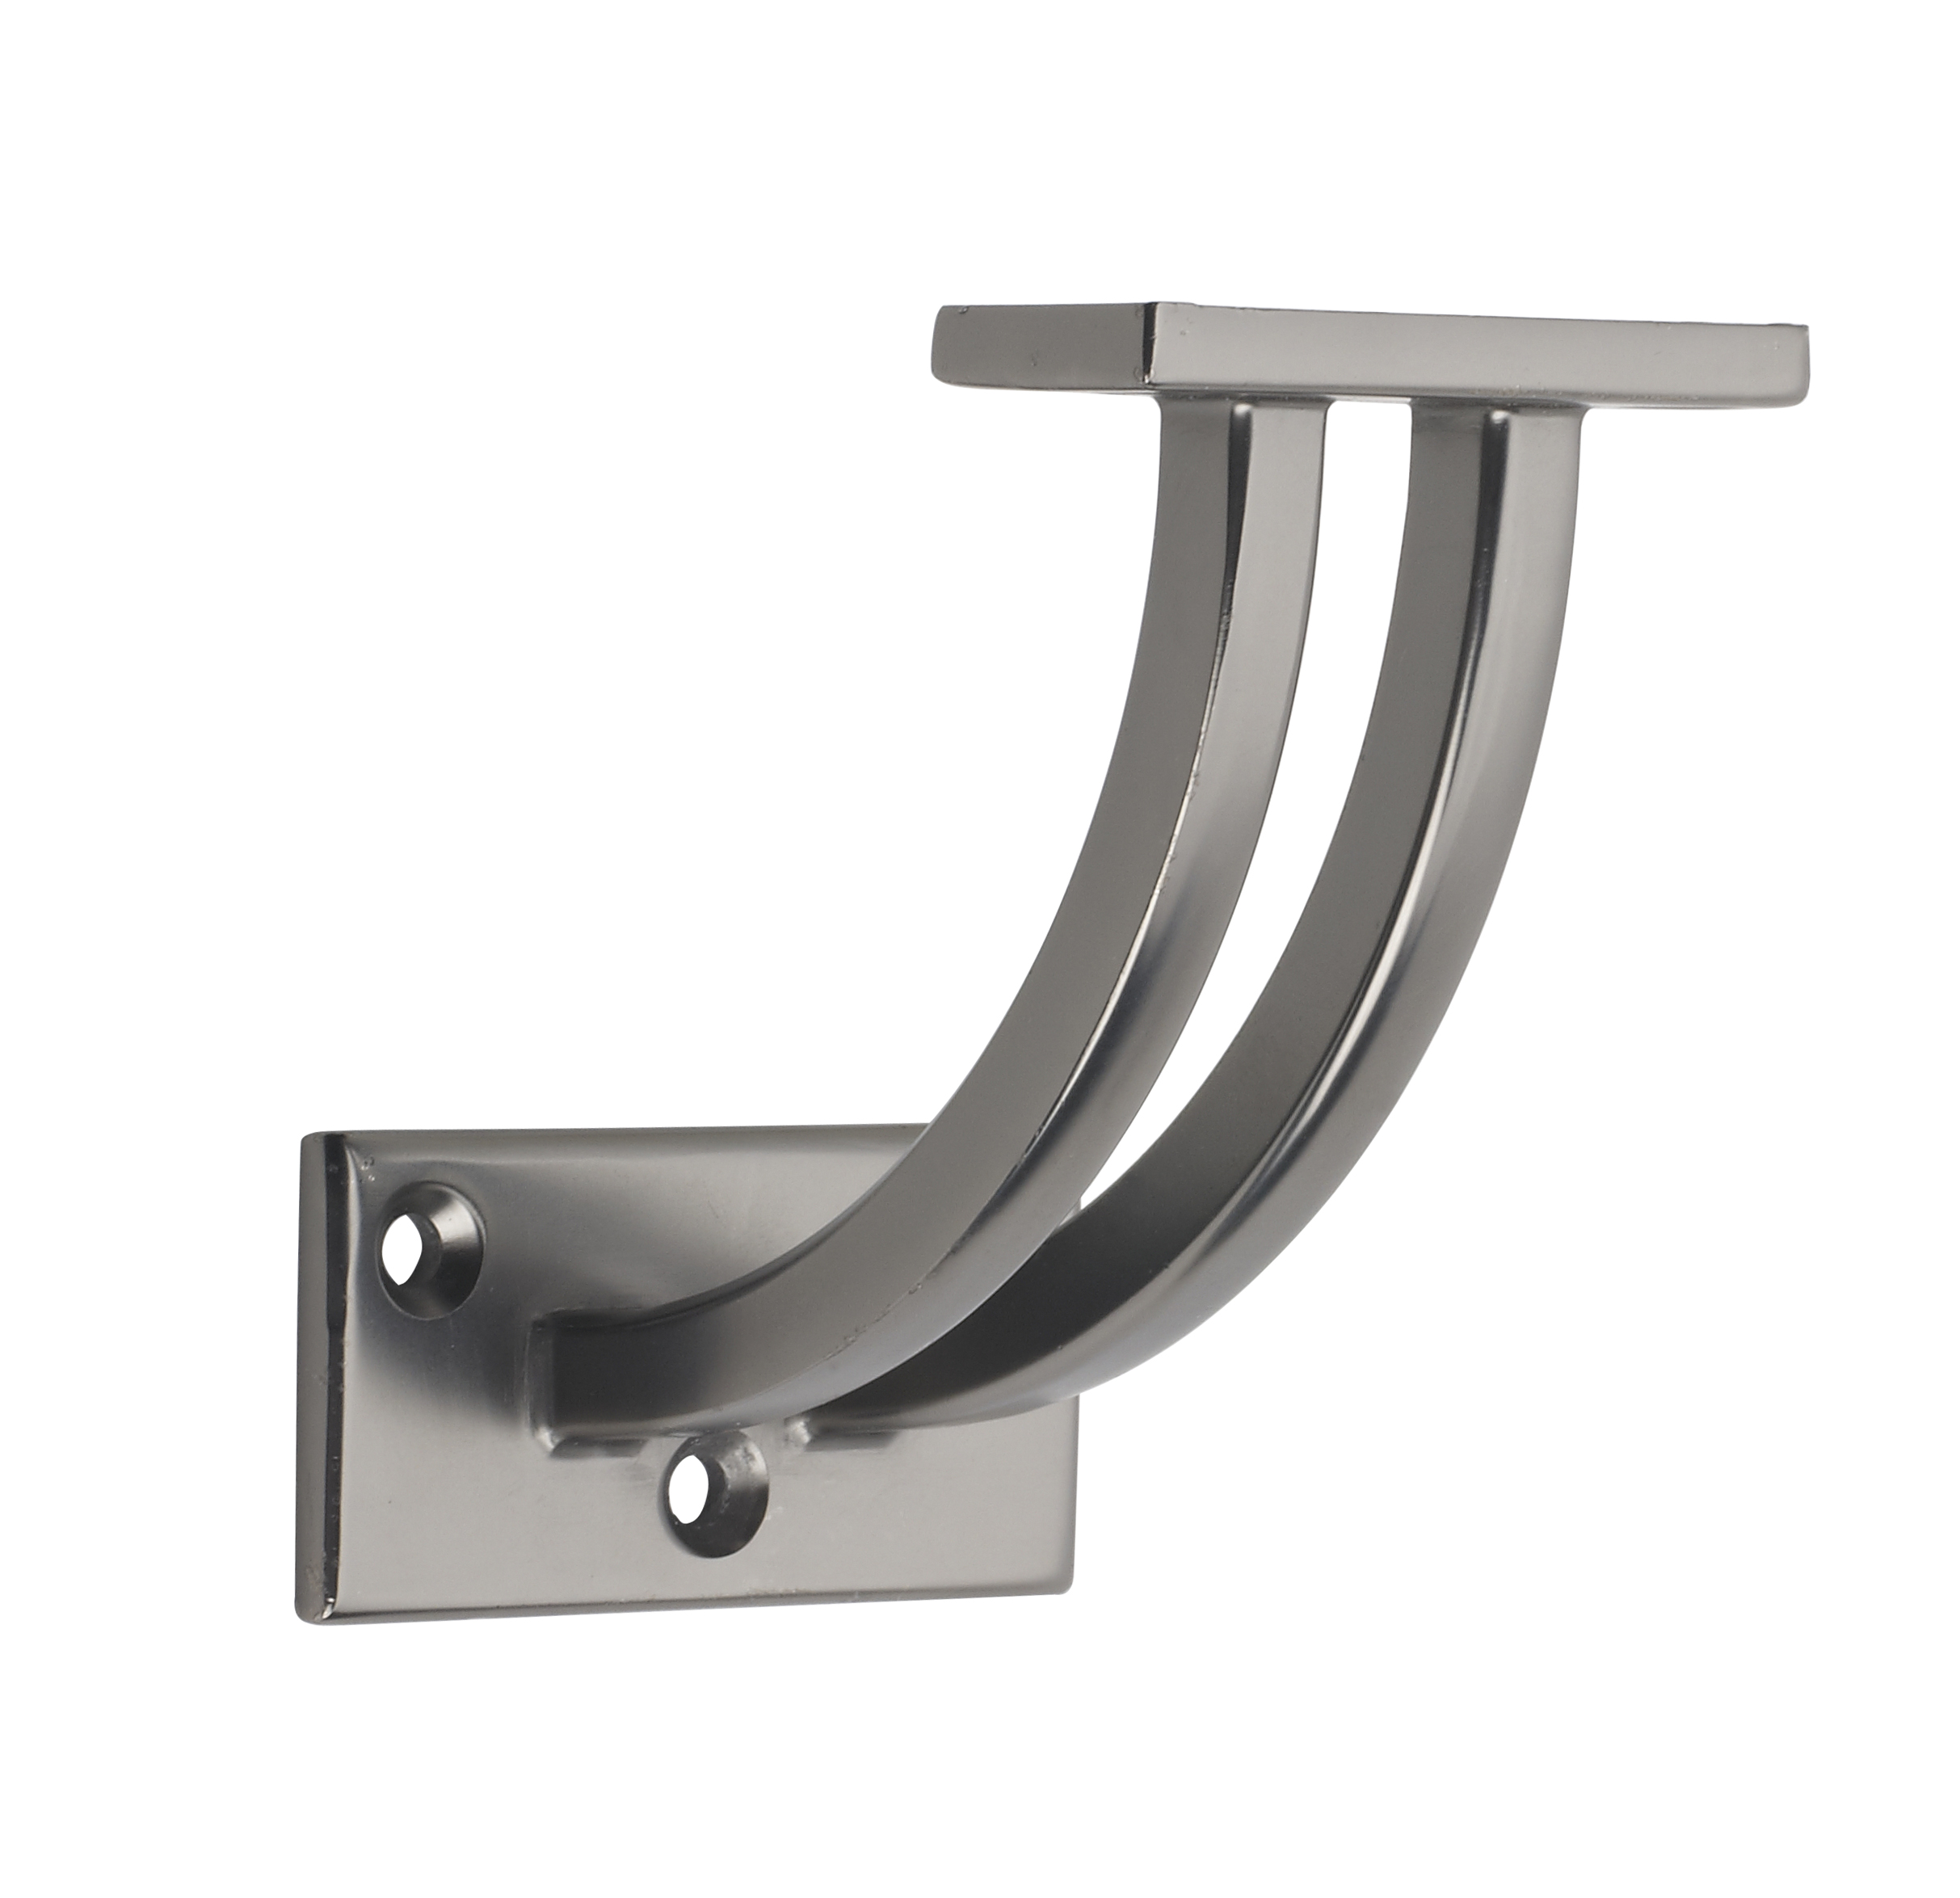 Contemporary Gun Metal Wall Bracket
GMCWB
Contemporary Gun Metal Wall Bracket
GMCWB
Metal brackets and end caps in a wide variety of styles
View Product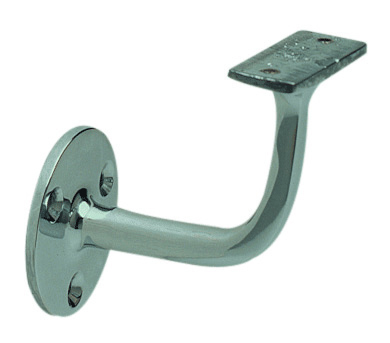
 Chrome Wall Bracket with Sleeve
WMSWB
Chrome Wall Bracket with Sleeve
WMSWB
Metal brackets and end caps in a wide variety of styles
View ProductFAQs
Handrail Brackets
Where can I buy Richard Burbidge products?
Richard Burbidge products can be purchased through our trusted stockists located throughout the UK. Find your local retailer with our stockist locator here.
For trade customers, you can purchase our products directly here on our website, simply sign up for a trade account and once approved you will be able to shop. Sign up for a trade account here.
How do you attach a handrail to the wall?
To properly attach a handrail to the wall, follow these steps:
- Measure and Mark the Placement: Mark the desired height of the handrail, typically between 900mm and 1000mm from the stair tread. Ensure the handrail follows a straight line or conforms to any turns along the staircase.
- Position the Brackets: Mark the positions for the handrail brackets along the wall, ensuring the spacing is no more than 1.2m (4 feet) apart. Use a level to confirm the alignment.
- Drill and Install Brackets: Drill pilot holes for the brackets, ensuring you drill into wall studs or use appropriate anchors. Install the brackets securely using screws, ensuring they are level and firmly fixed.
- Attach the Handrail: Place the handrail onto the installed brackets and secure it with screws or bolts. Make sure the handrail is stable and has no movement.
- Final Check: Ensure all brackets are tightened and test the handrail for stability by applying light pressure.
Proper attachment ensures the handrail system is safe and compliant, particularly for commercial spaces or high-traffic areas.
How to install handrail brackets?
To install handrail brackets correctly, follow these steps:
- Measure the Handrail Height: Typically, handrails should be positioned at 900mm to 1000mm from the stair tread or floor. Mark the height consistently along the stairway.
- Position the Brackets: Mark the positions for the brackets, ensuring they are no more than 1.2m (4 feet) apart. Use a level to ensure accurate placement.
- Drill Pilot Holes: Drill pilot holes into the wall or newel posts where you’ve marked the bracket positions. For wall installations, ensure you drill into studs or use appropriate wall anchors.
- Install Brackets: Secure the brackets to the wall or newel posts with screws or anchors. Ensure each bracket is securely fastened and levelled.
- Attach the Handrail: Once the brackets are installed, mount the handrail onto the brackets and secure it using screws or bolts, ensuring a tight, stable fit.
Accurate installation ensures the handrail system complies with both safety standards and functional requirements.
How to measure handrail brackets?
Measuring for handrail brackets requires careful planning to ensure secure installation and compliance:
- Determine the Handrail Height: Start by marking the height for the handrail along the staircase, usually 900mm to 1000mm above the tread. For commercial or high-traffic areas, ensure the handrail height complies with local regulations.
- Spacing Between Brackets: Measure the spacing between brackets. They should be spaced no more than 1.2m (4 feet) apart, but the spacing may need to be reduced based on the handrail material, weight and usage (e.g., for commercial properties or heavy-use areas).
- Positioning on the Staircase: For staircases with curves or landings, place brackets at each change in direction, ensuring they provide adequate support.
- Check Wall or Newel Post Compatibility: Measure the location where the brackets will attach to the wall or newel posts, ensuring alignment with the handrail and structural integrity.
Measuring accurately is critical for a professional and secure installation, ensuring the handrail provides both safety and durability.
Categories
Our stairparts, mouldings and timber are categorised to help you easily find the product you need.
Wall Panelling
From classic charm to contemporary flair, our range of wall panels and boards add texture, style and personality to any space. Explore high-quality interior wall panelling expertly designed to suit any style or room design.
Design ServiceStairparts
From timeless wooden spindles to sleek modern handrails, explore the full collection of Richard Burbidge stairparts and stair systems. Designed for every style and staircase design, our components combine expert craftsmanship with easy installation.
Design ServiceShop By Collection
Mouldings
From finishing trims to standout features, our expertly crafted mouldings offer quality, versatility, and timeless design. Choose from a wide range of profiles and materials to elevate walls, doors, windows, and more.
Design ServiceShop By Collection
Shop By Part
Outdoor
Transform your outdoor spaces with our expertly crafted range of timber balustrades, panels, porches, and accessories. Whether you're creating a classic garden retreat or a sleek, contemporary deck, our collections offer high-quality, treated timber and low-maintenance solutions built to last.
Design Service